You have no items in your shopping cart.

An overview of the various methods of taping your highline, with instructions and pros and cons for 5 of the most common methods.
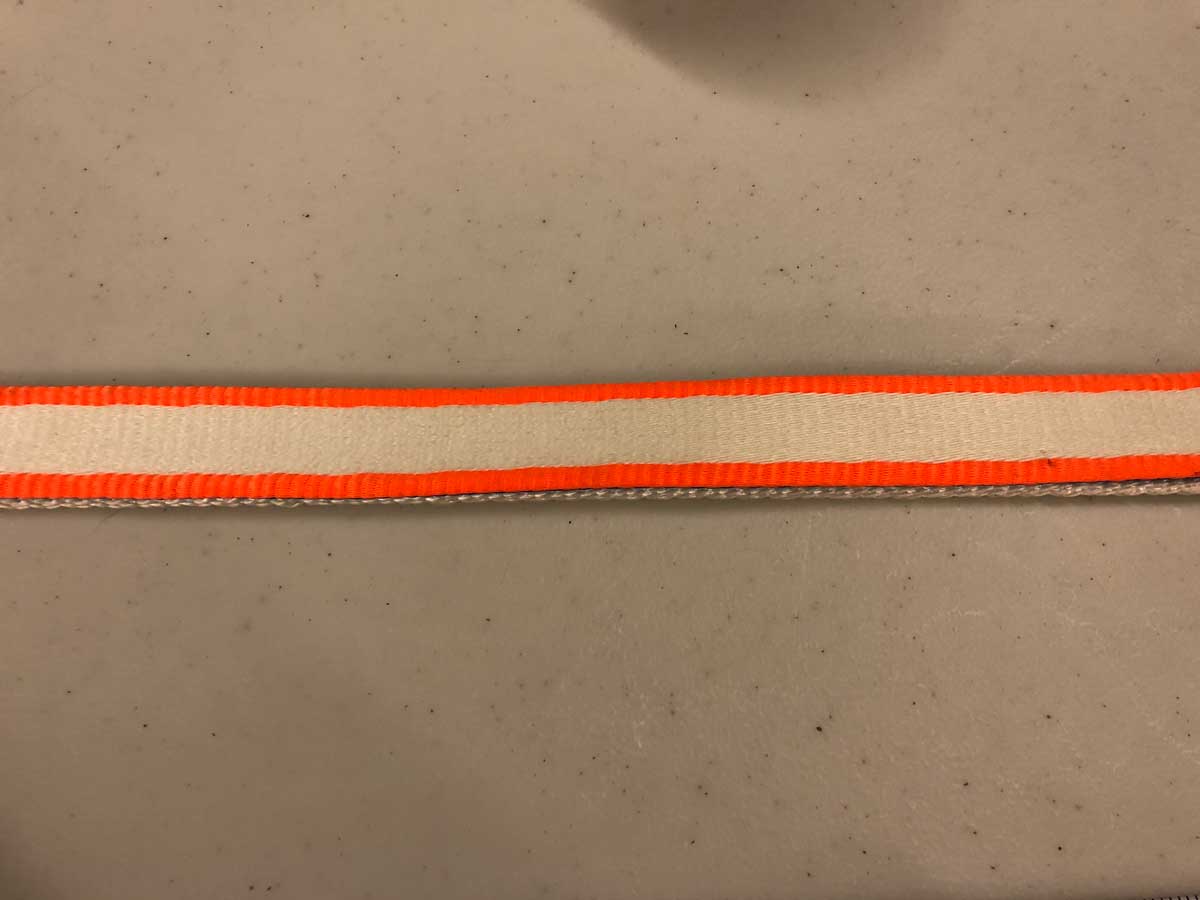
In this article, we will be looking at a few different methods of taping highlines. Some of these taping styles are what's known as "Slider Tapes", which allow one or both of the lines to slide through the tape without affecting the other line. This technique is fantastic as it allows the two lines to move independently from one-another, making tapes less likely to break and also allowing better equalization of the tension on the backup across the entire length of the mainline.
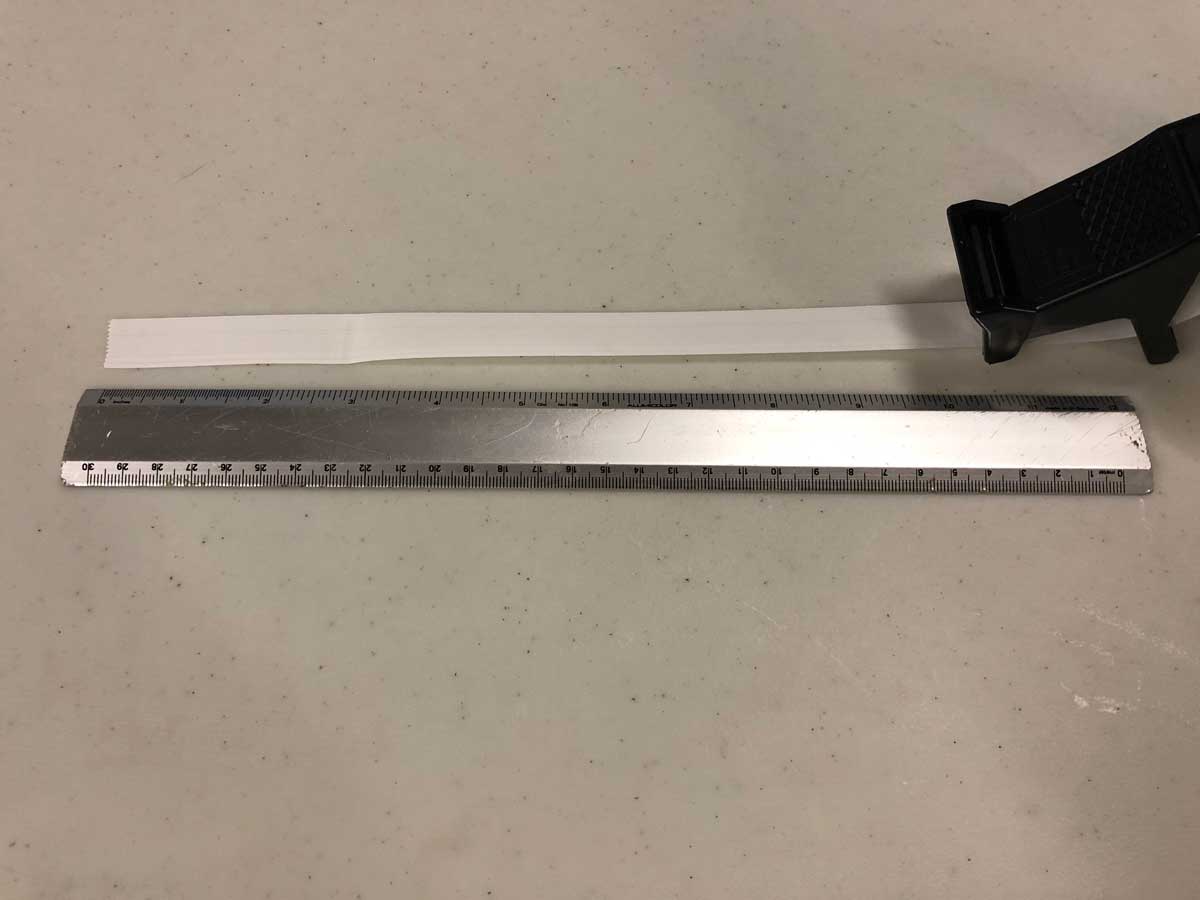
Before we dive in to the different methods, I would like to go over the length of each tape piece. If you are taping two pieces of webbing together, a full wrap around both pieces will take roughly 2.5 inches (63.5mm). To find out how much tape you need for each piece, multiply the number of wraps by 2.5 inches and add on any additional length that is required by your chosen method to arrive at the length needed. This will be covered in more detail for each method.
Also, when taping your highline, it is considered best practice to end your tapes on the bottom of the line. So, if your chosen tape method needs to start at a specific location, make sure you add any additional length to your tapes to ensure you have enough wraps and also end the tape on the bottom of the line. The reason for this is because when tapes end on the top of the line, they can easily be affected by walking on or gliding on with a webbing pulley, which can lead to them breaking. When the end of the tape is on the bottom of the line, this is less likely to occur.
Let's take a look at the different methods of taping:
Standard Tape Method
This method of taping is simply taking a piece of tape and wrapping it around both lines a number of times. Neither lines will be able to slide and the tapes will be fixed.
This taping method is by far the easiest to do, but has a few downsides:
- If the two lines are not taped with correct spacings, simply tensioning your mainline can cause one or several of the tapes to break.
- If the backup line is pulled on to adjust tension or during a fall, this can cause tapes to break.
- Not having the ability for one of the lines to slides can cause the tape to unstick from both lines, causing the tape to slide over both lines. This can lead to many tapes bunching together, creating massive backup loops.
If you do plan on using this style of tape, here are some specific details:
- Additional Tape Length Required - 0 inches (0mm)
- Tape Style Recommended - Fiber-Reinforced Tape or Tensilized Polypropylene Tape
- Recommended Number of Wraps - 3 or 4
- Total Amount of Tape Needed - 7.5 - 10 inches per tape (19 - 25 cm)
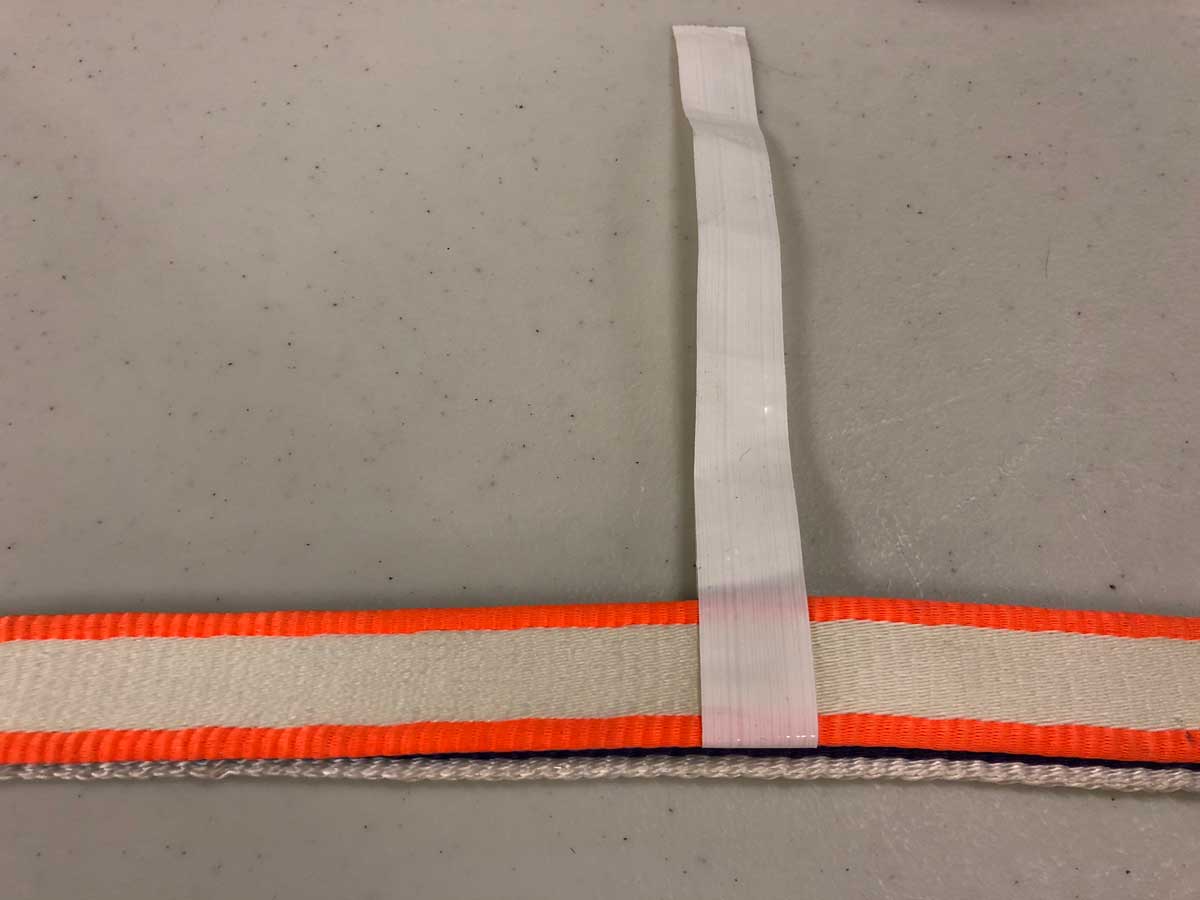
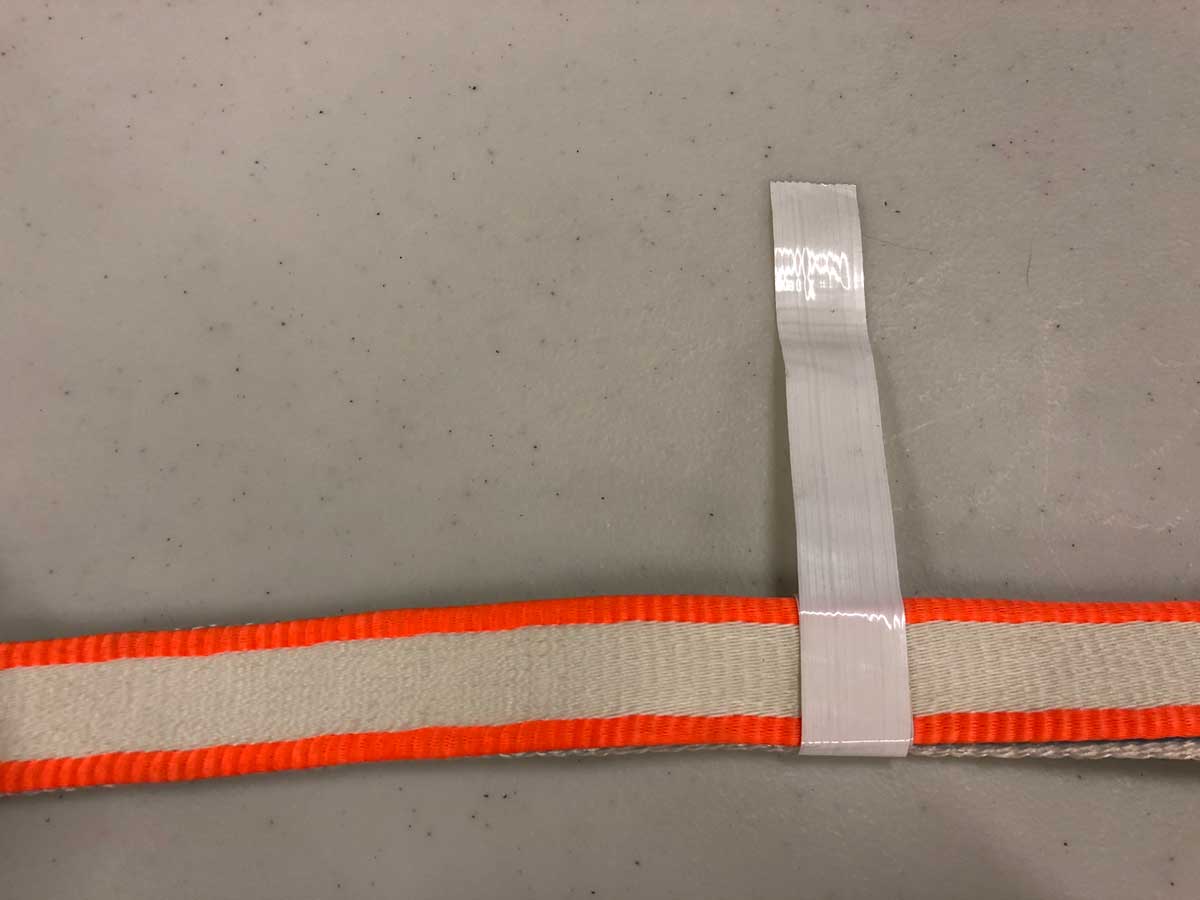
Standard Tape Method Taping Procedure
Step 1
Measure and cut a piece of tape, remembering that each wrap requires 2.5 inches (63.5mm), plus a bit extra to ensure the tape ends on the bottom of the webbing.
Step 2
Lay your mainline and backup lines in front of you, with the mainline on top.
Step 3
Start the tape on the top of the mainline and wrap it around the line until the tape is gone. Make sure to wrap it semi-tightly to ensure the adhesive is applied to both the mainline and the backup line. This will help the tape stay affixed to the two lines when in use.
Step 4
Move your mainline and backup line down until the next tape spot and repeat steps 1-3.
Main-Affixed Slider Tape Method
This next method, known as the "Main Sliders" method (short for "Main-Affixed Sliders"), is a more recently developed taping method that has the tape wrapping completely around the mainline and also creates a non-sticky part on the tape that goes around the backup, allowing the backup to slide through the tape while the tape stays affixed to the mainline.
The only downside to this style of tape is that the backup line tends to favor some loops over others. This means that it's quite difficult to have an even amount of backup line within all the loops, so some parts of the line are stable where others are more reactive. This is exacerbated on longer lines (over 100m). There are several good qualities to this style of tape:
- Since the tape is wrapped all the way around the mainline, the tape is far less likely to fall completely off the line if it breaks.
- Since there is a layer of tape on the bottom of the mainline, between the mainline and the backup, the point at which the two lines interact within the tape is protected, which has been a source of abrasion when using other taping methods.
Here are the specs for this taping method:
- Additional Tape Length Required - 3 inches (76mm)
- Tape Style Recommended - Fiber-Reinforced Tape or Tensilized Polypropylene Tape
- Recommended Number of Wraps - 3 or 4
- Total Amount of Tape Needed - 10.5 - 13 inches per tape (27 - 33 cm)
Main-Affixed Slider Tape Method Procedure
Step 1
Measure and cut a piece of tape, remembering that each wrap requires 2.5 inches (63.5mm), plus 3 inches for the affixed section, plus a bit extra to ensure the tape ends on the bottom of the webbing.
Step 2
Lay out your highline webbings with mainline on top and backup line on the bottom. If using a rope backup, place rope on bottom of webbing.
Step 3
Slide the tape between the mainline and backup line, with the sticky side still up. Made sure to leave about 1.5 times the width of the webbing extra beyond the webbings. For a 1 inch wide slackline rig, you would leave 1.5 inches beyond the webbing.
Step 4
Take the long side of the tape and fold it up over the mainline such that the sticky is now wrapping completely around the mainline. Make sure you meet the two sticky sections to create a 1.5 inch section of non-sticky on both sides of the tape.
Step 5
Wrap the length of tape around both lines until the end of the tape.
Step 6
Move the mainline and backup to the next tape location and repeat steps 1-5.
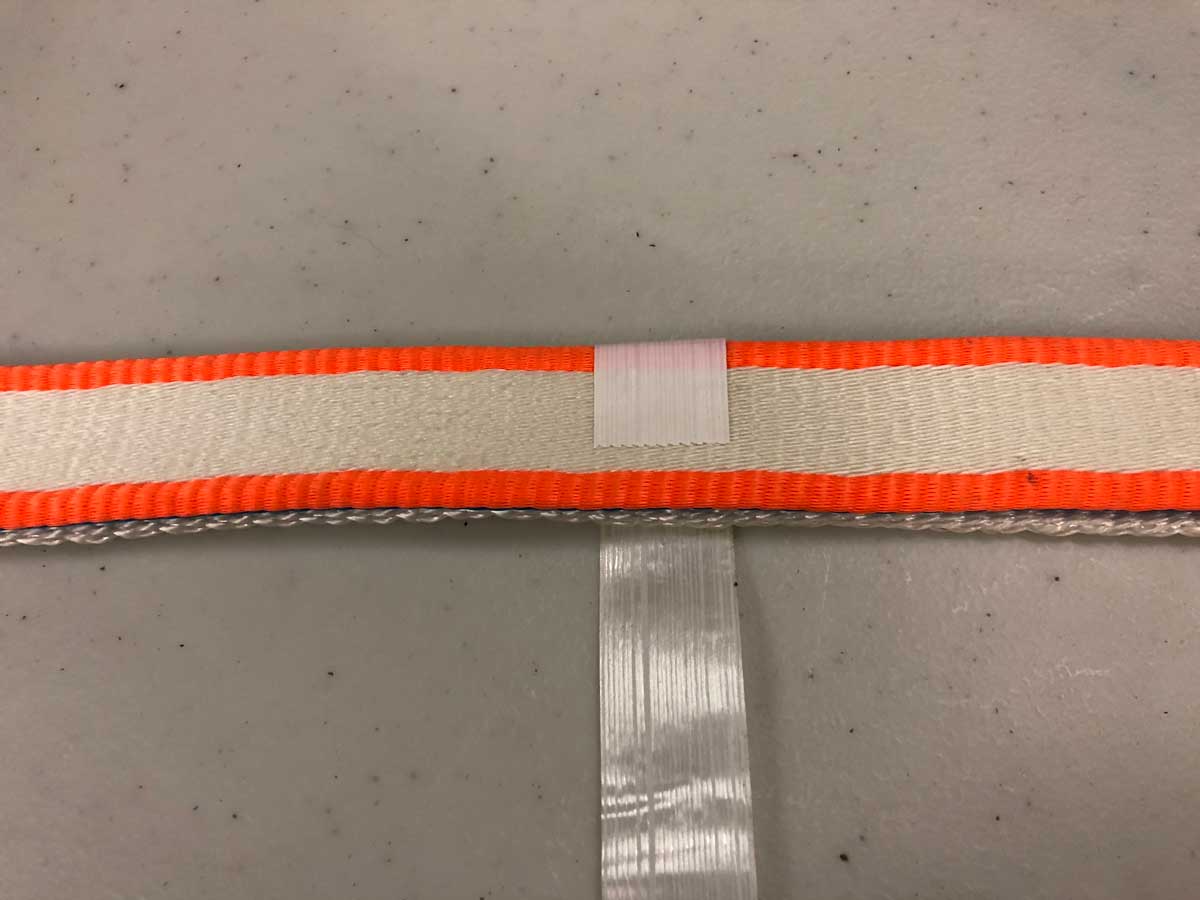
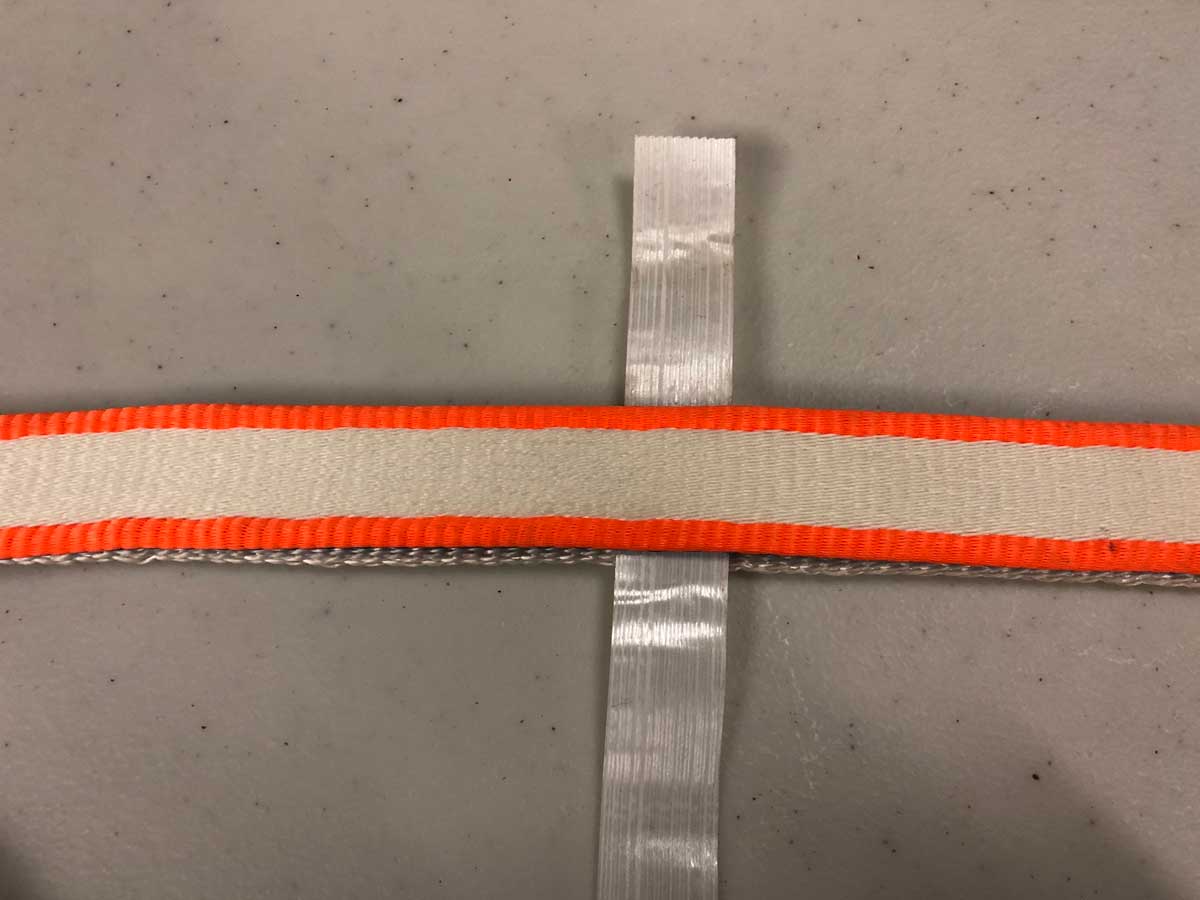
Backup-Affixed Slider Tape Method
This method, known as the "Backup Sliders" method (short for "Backup-Affixed Sliders"), is the same as the Main Sliders above, but affixed to the backup instead of the mainline. This allows the tapes to slide along the mainline rather than the backup sliding through the tapes.
I find that this method is the ideal tapping solution. The reason for this is because slider tapes tend to slide a LOT better along a tensioned line rather than a flaccid line. The only downside to this taping method is that the backup line can now rotate completely around the mainline within the tape, which creates a very confusing twist in the line that is hard to fix without gliding out to the tape in question. There are a number of good qualities on top of the qualities shared with the main-affixed sliders:
- You can control the side of each backup loop since the tape will be affixed to the backup. Whatever tape spacing you choose will be the size of your backup loop.
- The tapes slide MUCH better than any other method since the line they are sliding on will be under tension.
- The backup loops tend to equalize across the length of the webbing, allowing for a uniformly stable line.
The specs for Backup Sliders are identical to Main Sliders.
The procedure for Backup Sliders is identical to Main Sliders, except for you tape with the backup on top, rather than the mainline.
Euro Slider Tape Method
This method, known as the Euro Slider method, is an old school sliding tape that came about when the method below was first introduced. It's much more simple than the method below and takes far less time to make and tape with.
There are a number of downsides to this taping style, including the fact that the tape hardly ever stays stuck to either line. These tapes always seem to come undone and end up grouping together. Also, the small tab that goes between the two lines sometimes will pull out, causing the entire tape to come undone.
It's not a great method and it should be avoided at all costs. If you do decide you want to use it, here are the specs:
- Additional Tape Length Required - 2 inches (50mm)
- Tape Style Recommended - Fiber-Reinforced Tape or Tensilized Polypropylene Tape
- Recommended Number of Wraps - 3 or 4
- Total Amount of Tape Needed - 9.5 - 12 inches per tape (24 - 30 cm)
For the procedure of this taping method, please see video below.
Old School Slider Tape Method
This method, now known as the "Old School Slider Tape Method", was the first of its kind. This method requires two pieces of tape: one short and one long, to create a section of tape without adhesive to allow one of the lines to slide. This method is quite strong and very effective, with tapes able to last many many sessions without breaking.
The main downside to this method of taping is the amount of time it takes to make the tapes. Since two pieces of tape are required and they have to be assembled, each tape can take several minutes to make and use. It's best used as a long-term taping solution.
Here are the specs for this taping method:
- Additional Tape Length Required - 2.5 inches (63.5mm)
- Tape Style Recommended - Athletic Tape
- Recommended Number of Wraps - 3 or 4
- Total Amount of Tape Needed - 7.5 - 10 inches per tape (19 - 25 cm), plus 2.5 inch small piece (63.5mm)
For a full procedure, checkout our original article on this taping method: http://www.balancecommunity.com/slack-science/slider-tapes/
That pretty much covers the various taping methods commonly used today. Please checkout our video on these methods below. Feel free to ask any questions in the comments and we will do our best to answer.

← Older Post Newer Post →
0 comments