You have no items in your shopping cart.
- SALE
- Tension Calculator
- Webbing Stretch
- Contact Us
- Free Shipping on U.S. Orders $89+

Highline taping technique to allow for the backup and main line in a highline to move independently of eachother.
In a highline setup, typically there are a minimum of two lines crossing the gap which you are trying to walk. These lines are usually taped together so that they may move together as a single line. Often times when these lines are taped together, the tapes can leave bad residue on the line and cause the multiple lines to behave in a strange way.
With this new taping technique, dubbed 'Slider Tapes', you can tape your lines together before arriving to the highline spot and then tension the mainline and backup line separately without the problem of having the lines stick together and having your tapes break when you tension your lines.. This taping technique keeps the tapes spaced correctly while still holding the multiple lines together so they move as one.
This taping style uses regular Athletic Tape that can be purchased at any convenience store for about $3 per roll.
Step 1
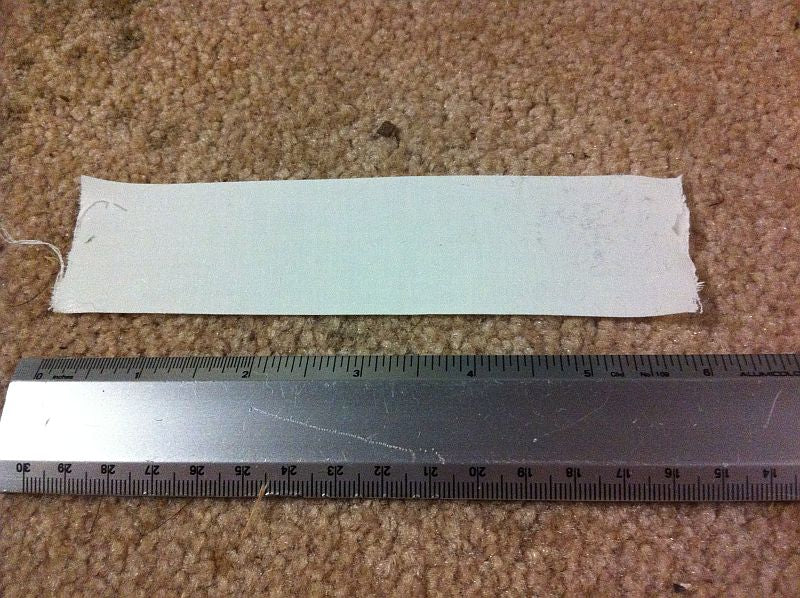
Rip off a 6" to 6-1/2" long piece of Athletic tape and put it on the floor with the sticky side up.
Step 2
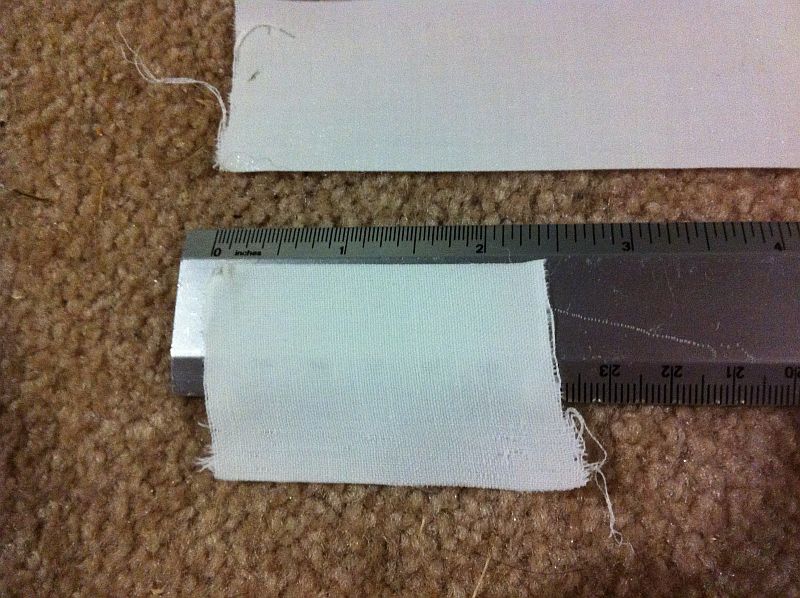
Rip off a 2" to 2-1/2" long piece of Athletic tape and place it on the floor with the sticky side up.
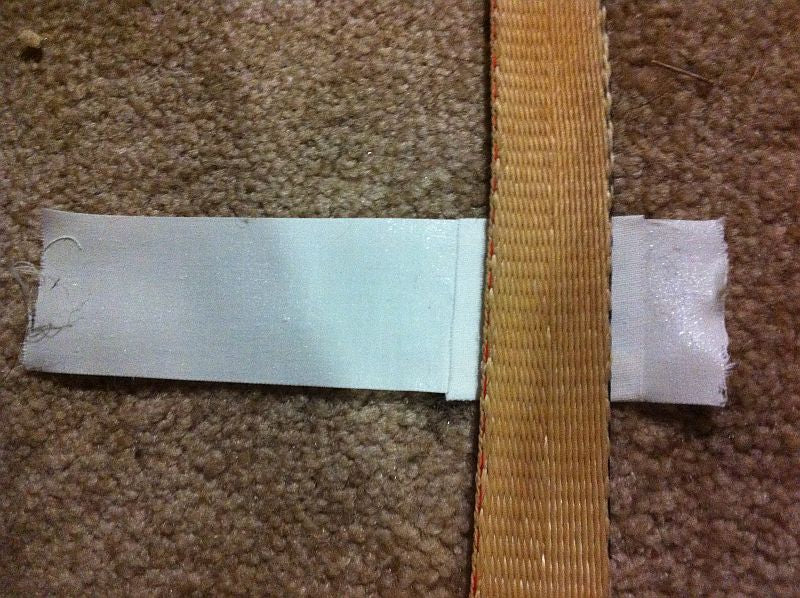
Step 3
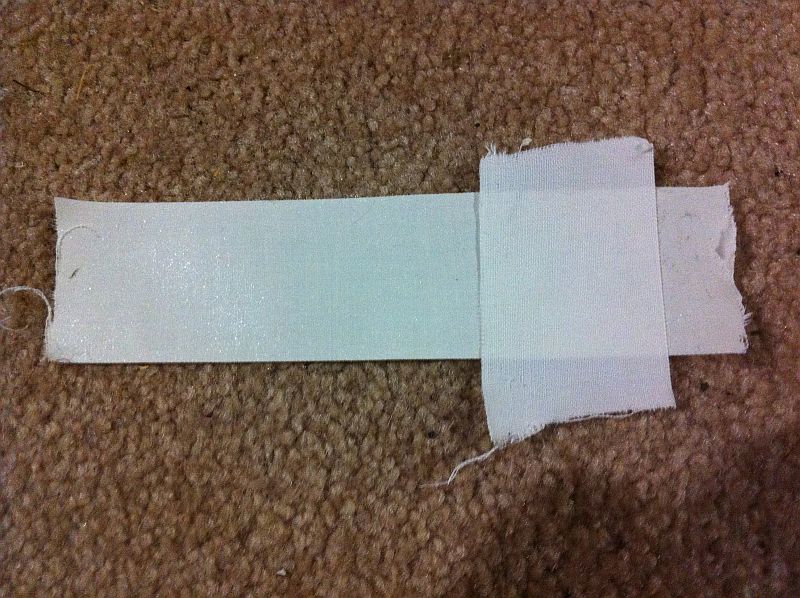
Place the 2" piece on top of the 6" piece about 1/2" to 3/4" from the top of the 6" long piece with the sticky sides touching.
Step 4
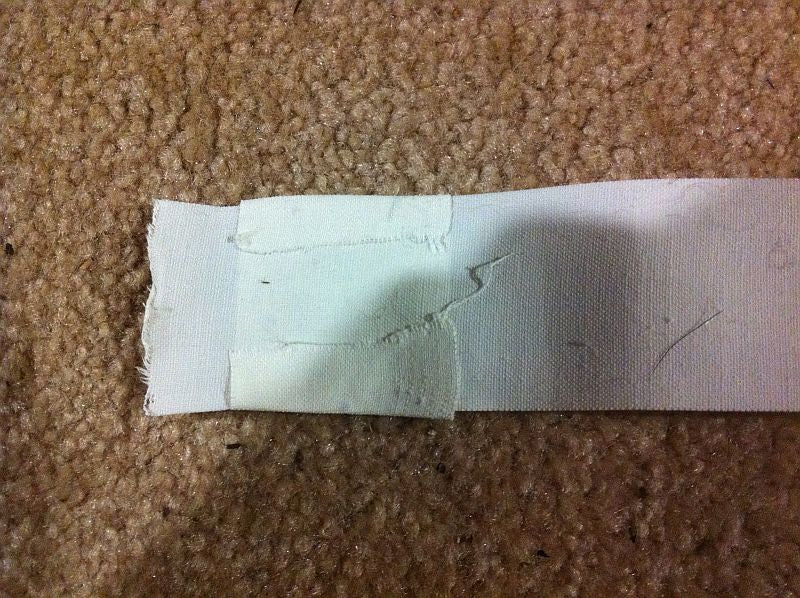
Wrap the ends of the 2" piece around the edges of the 6" piece. Be sure to press the ends down firmly so that they stick very well. Remove any excess tape fibers.
Step 5
Place the piece of tape under the stacked highline lines such that the non-sticky side of the 2" piece is in contact with the backup line.
Step 6
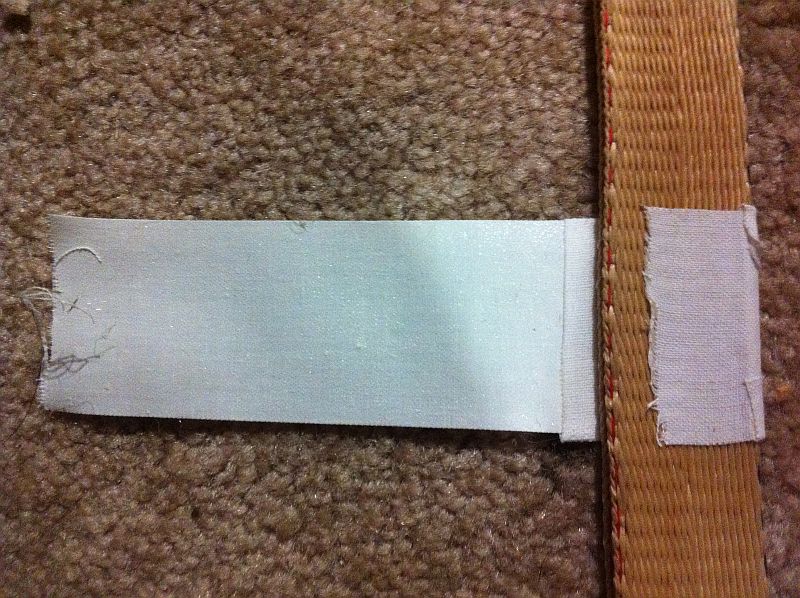
Wrap the shorter sticky side of the tape around to the mainline, pressing firmly so that it sticks well. Remove any excess tape fibers.
Step 7
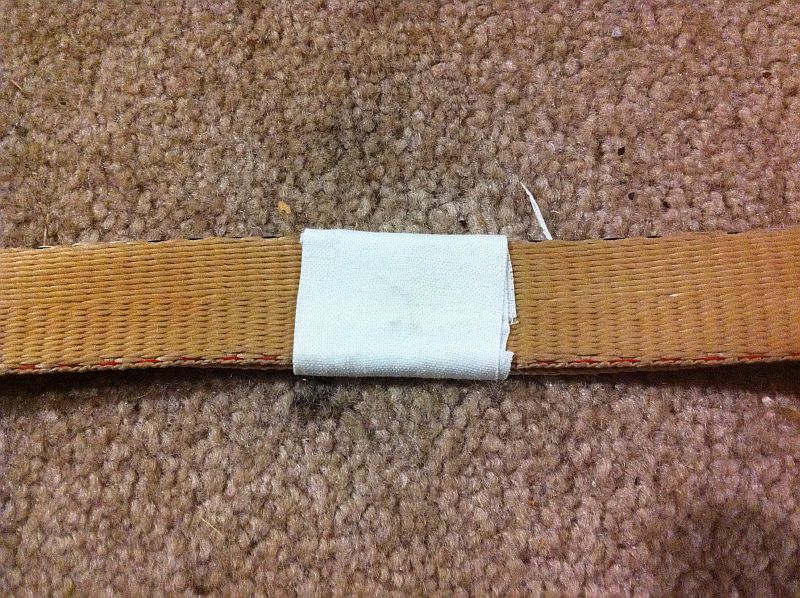
Wrap the longer sticky side of the tape around both lines a few times, pressing firmly as you wrap it around to ensure it sticks well. Remove any excess tape fibers.
Step 8
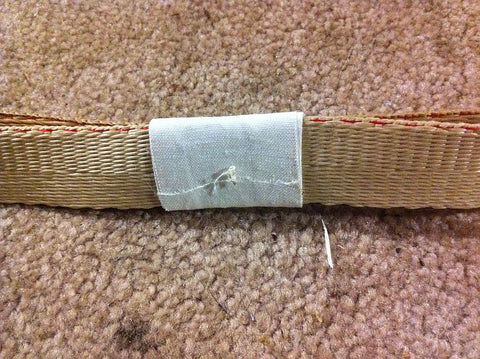
Ensure that the end of the piece of tape is on the bottom of the stacked lines (the backup line). This will help make the tapes last for a very long time.
This method of tape is fantastic for those that use a particular piece of webbing for highlines multiple times. You can leave your line taped for months and months with no issues and you will never have to retape the line. This will save you loads of time during highline setup while also making the line much easier to rig.
Pro Tip
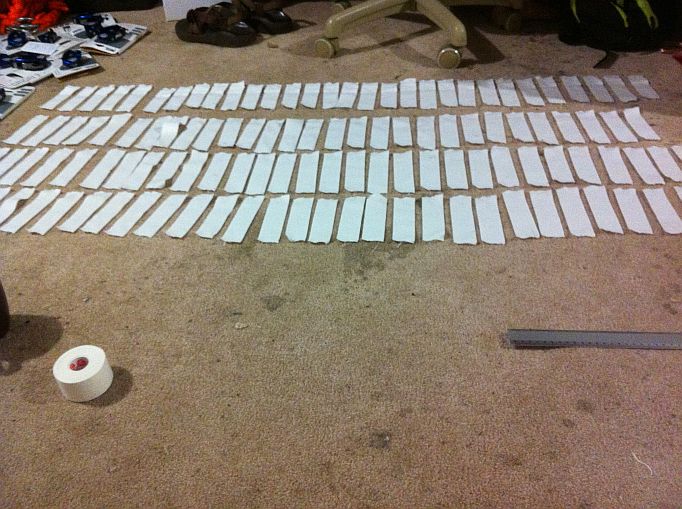
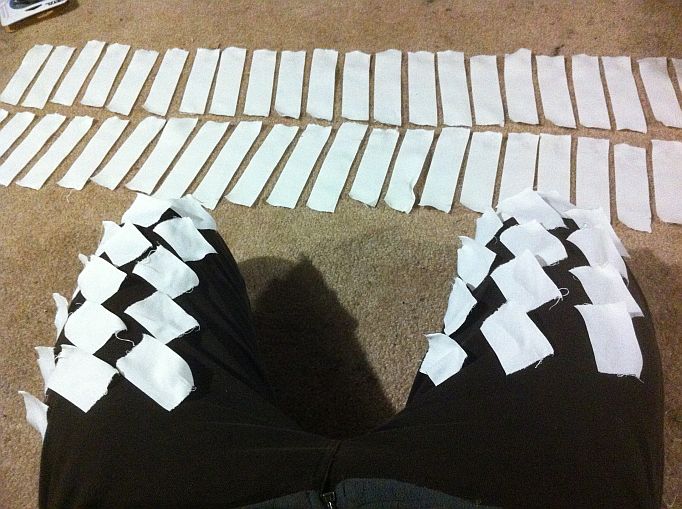
For quick taping, make as many of the pieces of tape as you can before starting to tape the line. I like to approximate how many tapes I need for the whole line by dividing the length of my webbing by 3 (which is typically how far I space my tapes from each other) and making this number of tapes beforehand. Check the two pictures below for my tape assembly line.
Tag Cloud
- 7/16" Twist Shackle
- A-Frame
- Adjustable Anchor Webbing
- Aero 2
- Alpine WebLock 4.0
- Alpine WebLock 5.0
- Alpine WebLock 6.0
- Alpine WebLock 6.1
- Anchor Slings
- BC LineBag 2.0
- BC LineGrip G5
- BC Roller
- BC SS Shackle
- Blue
- Blue Spansets
- brake
- Buckingham System
- CMC MPD
- Drop Test
- Dyneema
- Edelrid Eddy
- Feather PRO
- Fiber-Reinforced Slackline Tape
- Gear Information
- Gear Storage
- Gear Test
- Gear Testing
- Gear Usage
- GGBY
- Green
- Green 20
- Guest Article
- Handled Ascender
- Hang Frame
- Highline Festival
- Highline Gear
- Highline Rigging
- Highline Safety
- Jelly PRO
- Lift
- Lift 2be
- Linebag
- LineGrip
- Longline Kit
- Longline Rigging
- Mantra MK4: Flight
- MightyLock
- Multiplier
- Paradigm
- Paradigm Signature
- Petzl Grigri
- Petzl I'D
- Petzl RIG
- Pharaoh
- Pulley System
- Pulleys
- Purchase Guide
- Rigging Plate
- Rock Exotica PentaPlate
- Rock Exotica Pulleys
- Rodeoline
- Safety
- SBI Pulley System
- Secondaire
- Shackle Line-Locker
- shackles
- Slackline Kit
- Slackline Webbing
- SMC 3-Inch Double PMP
- SMC 3-Inch Single PMP
- SMC CRx
- SMC Large Rigging Plate
- Soft Shackle
- Spansets
- Spider Silk MK4
- Static Rope
- Tape
- tensioning
- Testing Procedures
- Threaded Highline Leash
- Van Beest 1/2" Anchor Shackle
- Van Beest 5/8" Bolt-Type Shackle
- Velcro Line-Sleeve
- Wafer 2.0
- Wafer XL
- Walking Techniques
- Webbing Sleeve
- webbing tests
- Wind Dampener Kit

← Older Post Newer Post →
0 comments