You have no items in your shopping cart.

A discussion of the spacing of tapes on highlines and how that can contribute to the safety and walkability of your highline.
In this article, we will be discussing the spacing of tapes on highlines, good practices for this, and a few tips for optimizing your highline tapes for various types of lines.
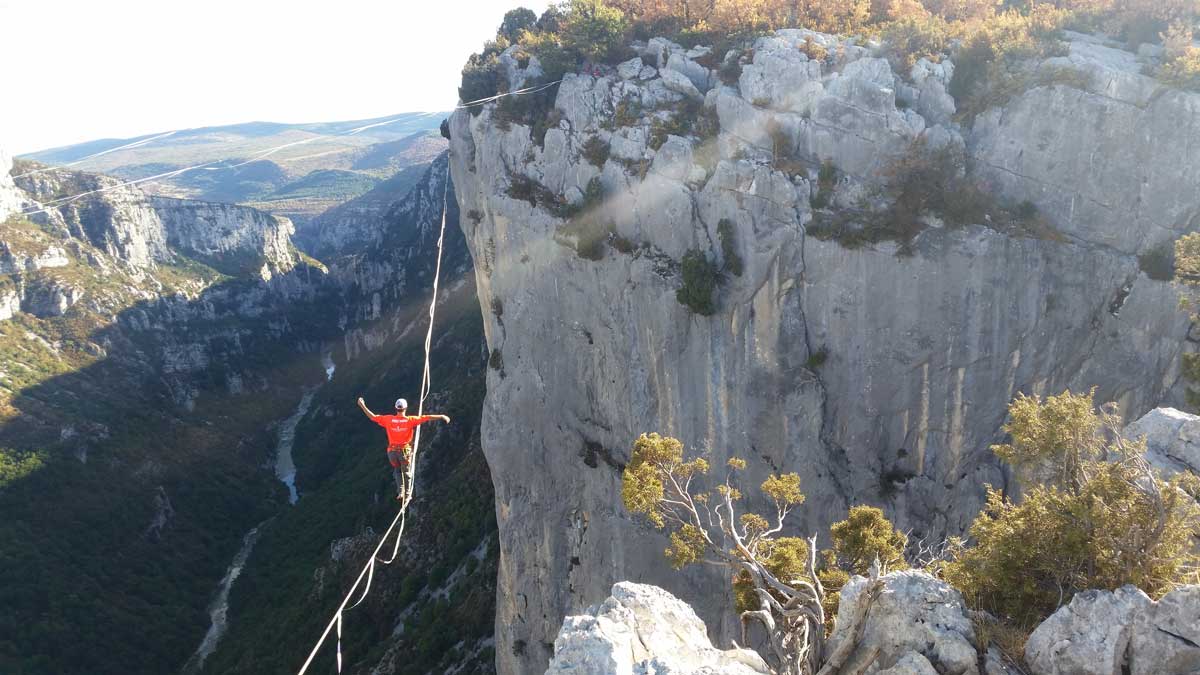
First off, a quick discussion about backup lines. With current rigging practices, a backup line serves two main purposes: as a backup to the mainline if it were to fail, and a walking aide. The way we space our tapes can determine the functionality of both of these purposes for the backup line.
Walking Aide Functionality
In the modern highline era, backup lines are rigged at a lower tension compared to the mainline. With taping, we are able to attach the backup line to the mainline in intervals along the entire length of the line. These tapes combined with the difference in tension between the two lines creates visible hanging loops of the backup line below the mainline.
When you are walking a highline, these hanging loops sway back and forth in a manner that can either stabilize the line or perpetuate movements in the line. The difference between these two scenarios comes down to how you space your tapes.
If the tapes are spaced in regular intervals such that each backup loop is the same size, you can experience the perpetuated movements. This is because all the backup loops sway in unison and actually cause any movement in the line to grow rather thank shrink. However, as soon as you introduce a different sized loop somewhere in the line, this effect is quickly mitigated.
That brings us to the point that tape spacings should absolutely not be regular. Instead, opt for random spacings to allow for different sized backup loops along the entire length of the line. This will create a chaotic sway effect of the backup loops with any movement sent into the line, creating the most stable walk possible.
Backup To The Mainline
The primary usage of the backup line is to be secondary line in case the mainline were to fail. The functionality of this backup line depends on the height of the line combined with the tension of the backup. There are other variables at play here that we will not be discussing in this article. Look for more info on this coming soon.
In order for the backup to actually work in the event of a mainline failure, it needs to have enough tension on it to keep you off the ground if you were to fall into it on your leash. However, as we all know from experience, a tight backup line makes highlines a lot harder to walk. This is due to the fact that we don't have the stabilizing loops hanging down beneath the line, as discussed above.
However, there is a way to allow for higher backup tensions while retaining the stabilization feature of the backup: increase the distance between each tape!
If you increase the tape spacing, this will allow for a higher tension to be put on the backup while retaining a stabilizing loop beneath the mainline. For example, if we know we want a 4-inch (100mm) gap between the mainline and backup in the middle of the loop, this will require a specific tension in the backup to achieve that gap on every backup loop. If we remove a single tape, now we have one large loop with a much larger gap between the backup and the main. In order to have that loop have a 4-inch gap, we would need to apply more tension to the backup line. Thus, if every loop is large, the tension of the backup can be higher while maintaining visible hanging loops.

Now, large tape spacings are great for helping with required backup tensions. However, tape spacings that are too large can be a problem for the walkability and safety of a line.
For instance, with a very large tape spacing of say 50 feet (15m), there is the tendency for the backup line to ride up the leg of the walker when they are walking between tapes. This can be quite dangerous if they were to fall between the mainline and backup lines and also very distracting for the walker.
Also, having large tape spacings can lead to the backup line catching the wind to a much larger degree compared to a line with smaller tape spacings. This catching of the wind can lead to tapes breaking and can also lead to the backup and mainline interacting in a negative way (see Mainline and Backup Line Interactions).
Lastly, having large tape spacings means there is less tape supporting the backup line. Keep in mind, since the backup line has less tension than the main, it will be hanging well below the mainline if there were no tapes. The tapes hold the backup line up to the mainline, thus they are supporting the weight of the backup line. The larger the tape spacings are, the less tapes you have to hold this weight. This isn't such a huge problem with strong tapes such as our Fiber-Reinforced Slackline Tape, but can definitely be if a less strong tape is being used. This can lead to tapes breaking much easier than they should because they are under a high amount of constant stress from holding up the backup line.
So, with these caveats in mind, it's important to balance the spacing of the tapes such that these things are not an issue. We have found the following spacings are ideal for the these length ranges of lines:
| Line Length Range | Tape Spacing Range |
|---|---|
| 15 - 65 feet (5 - 20m) | 3 - 6 feet (1 - 2m) spacings |
| 65 - 165 feet (20 - 50m) | 5 - 10 feet (1.5 - 3m) spacings |
| 165 - 330 feet (50m - 100m) | 6.5 - 16 feet (2 - 5m) spacings |
| 330 - 660 feet (100m - 200m) | 10 - 20 feet (3 - 6m) spacings |
| 660 feet and beyond (200m+) | 10 - 23 feet (3 - 7m) spacings |
So in summary, when taping your highlines, to maximize the safety and walkability of your line, randomize your tape spacing with the above guidelines for maximum and minimum spacings intervals.
Additional Spacing Tips
I've found the following tips to be helpful for optimizing the feel of your line:
Tight Tape Spacing At Ends Of Lines
Since the start of lines are typically the points on the line that see the most action, it's nice to have small tape spacings in the beginning and end of the line, typically 3 - 5 feet (1 - 1.5m) works best for most lines. This will ensure that if tapes start to break in these locations, you won't run the risk of a giant backup loop right at the beginning of the line, which is where friction and abrasion can be the worst.
The Trick Zone
With the proliferation of trick highlining, we are seeing more and more highlines setup with the intention of doing tricks on them. Typically, we these types of rigs, there is a section of the line where the majority of the time will be spent. All too often, we see a large number of broken tapes and large backup loops around these areas of the line. We've found that taping this area of the line with really small tape spacings helps keep the large loops under control and makes the line behave like a single piece of webbing in these areas. If you keep the above guidelines for tape spacing on the rest of the line, this trick area will not affect the stability of the line as a whole, but only increase the safety of the line in these zones.
We've found that the same 3 - 5 foot (1 - 1.5m) spacings work well for this zone. Depending on the length of the line, it's nice to go with about 15 - 20% of the full length, near the center for this zone. For example, on a 100m line, you should create a 15 - 20m section near the middle that has small tape spacings for the trick zone. The rest of the line should have the above 6.5 - 16 foot (2 - 5m) spacings to ensure the line remains stable.
That pretty much covers everything we wanted to talk about with respect to Tape Spacing. If you have any questions, please feel free to ask below.
Here is a video of us discussing these issues:

← Older Post Newer Post →
3 comments
Same issue as Nikko, though I did notice if you highlight the hidden line length values, then they become visible.
Nikko, I’m having the same issue. The problem is the text is in white, the same color as the background of the page so it isn’t showing up. If you highlight the table it will show up
I don’t know if other people are having this issue or just me (tried on two different browsers and zooming in and out of the page and different devices) but the line length range number aren’t showing up just the tape spacing range.