You have no items in your shopping cart.
- SALE
- Tension Calculator
- Webbing Stretch
- Contact Us
- Free Shipping on U.S. Orders $89+

A better, more efficient, and easier method to create slider tapes for your highline rig.
Today I would take another look into Slider Tapes. We've seen what slider tapes are in a past article seen here: Slider Tapes. However, as time has proven, these types of tapes are extremely time consuming to create. Well, what if I told you that I found a new way to make them that takes about 1/5 the time and works better?! Let's explore this new method.
Step 1
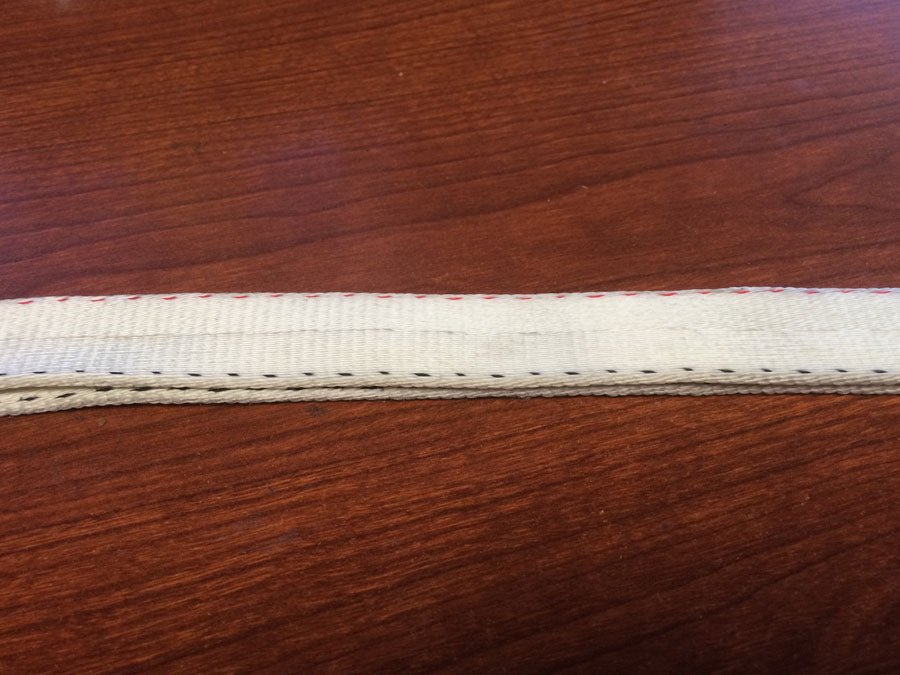
Lay out your highline webbings with mainline on top and backup line on the bottom. If using a rope backup, place rope on bottom of webbing.
Step 2
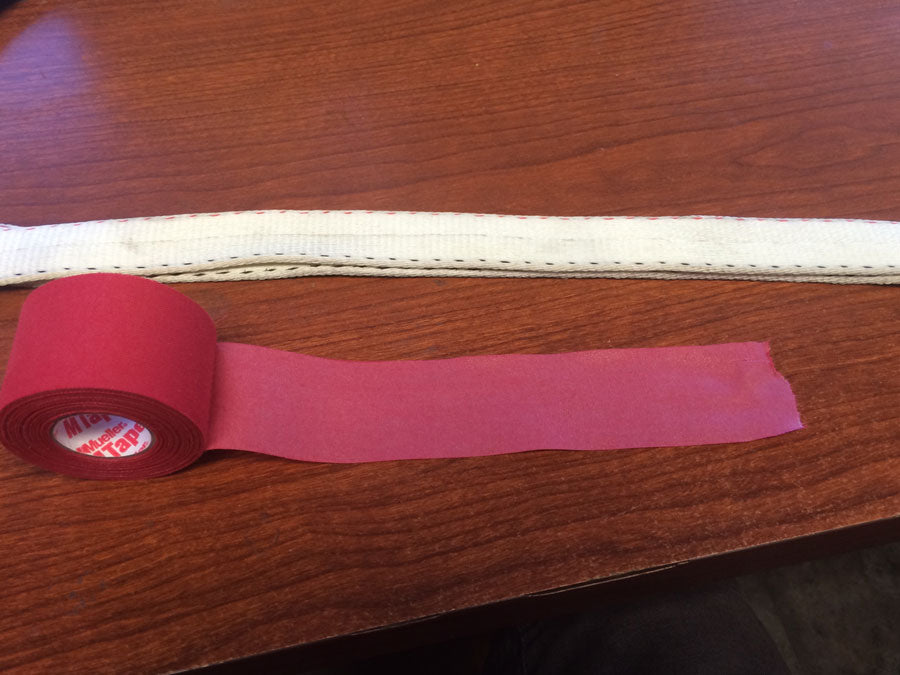
Unroll a bit of tape and place it on the table with sticky side up.
Step 3
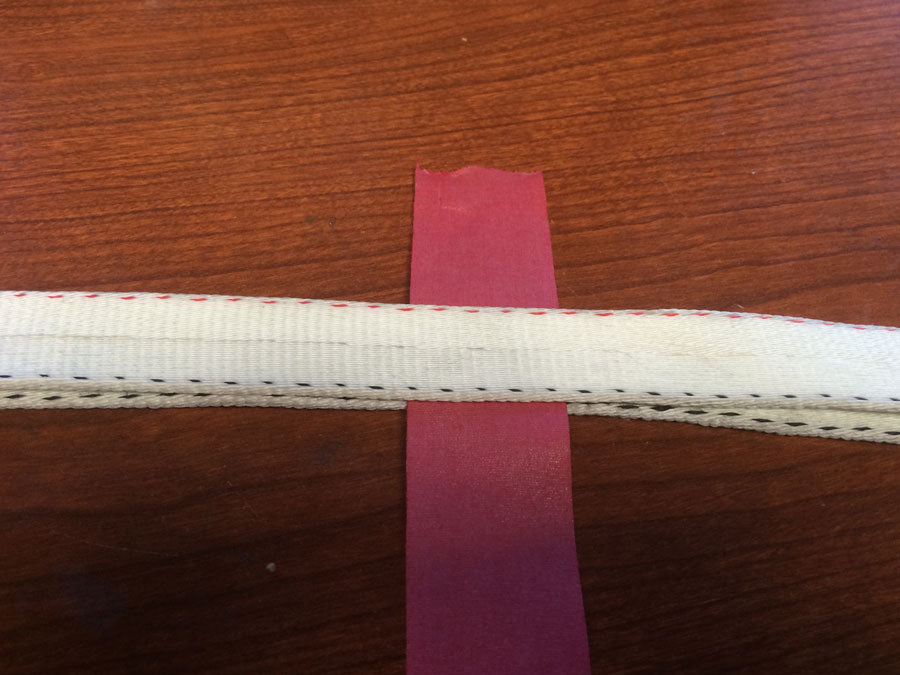
Slide the tape between the mainline and backup line, with the sticky side still up. Made sure to leave about 1.5 times the width of the webbing extra beyond the webbings. For a 1" wide slackline rig, you would leave 1.5" beyond the webbing.
Step 4

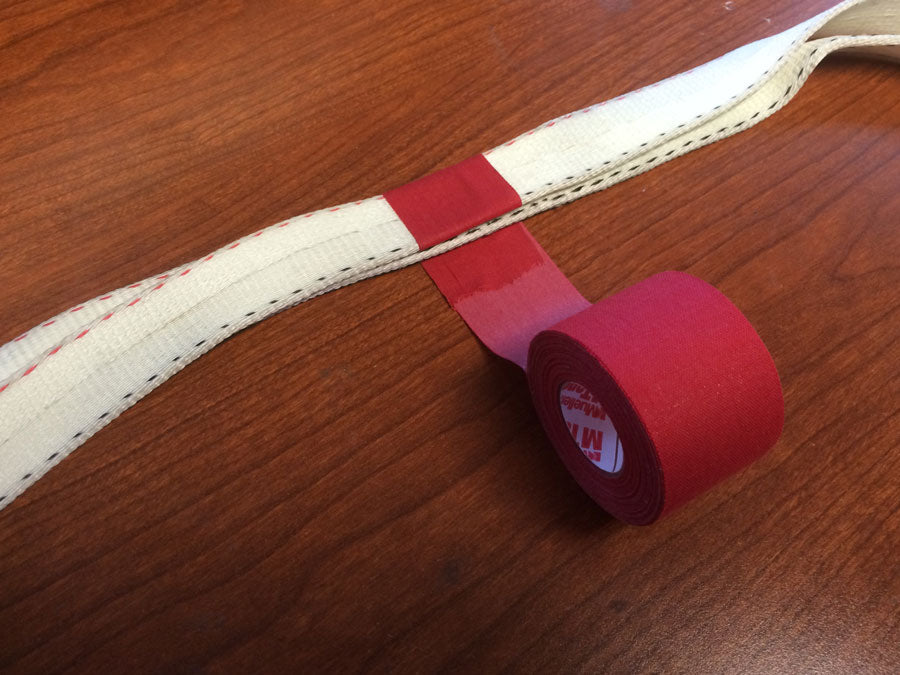
Take the roll of tape and fold it over the mainline, sticking it to the extra bit on the other side (sticky side to sticky side)
Step 5
Now wrap this around the two lines.
Step 6
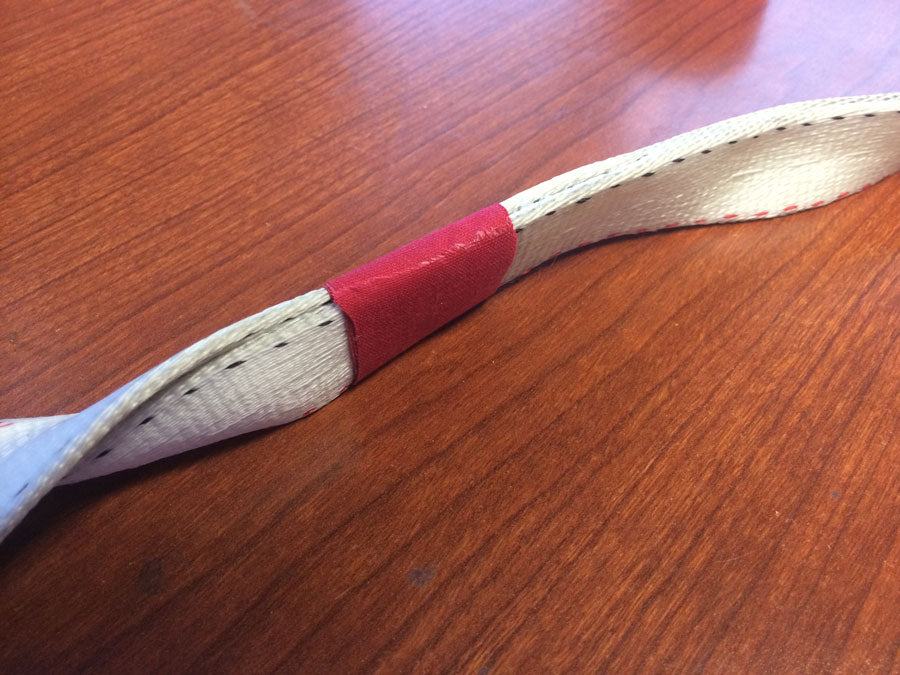
Wrap the tape around the 2 lines 1.5 times, making sure that when you rip/cut the tape, the end is on the bottom. You do not want the end of the tape to be on the top where you will be walking as this will make it more likely to be removed during a session.
That's it, a better slider tape method! Note, this method works best with wide tapes of at least 1.5" (38mm). Tapes that are narrow do not have enough surface area to stick well to the slackline.
Tag Cloud
- 7/16" Twist Shackle
- A-Frame
- Adjustable Anchor Webbing
- Aero 2
- Alpine WebLock 4.0
- Alpine WebLock 5.0
- Alpine WebLock 6.0
- Alpine WebLock 6.1
- Anchor Slings
- BC LineBag 2.0
- BC LineGrip G5
- BC Roller
- BC SS Shackle
- Blue
- Blue Spansets
- brake
- Buckingham System
- CMC MPD
- Drop Test
- Dyneema
- Edelrid Eddy
- Feather PRO
- Fiber-Reinforced Slackline Tape
- Gear Information
- Gear Storage
- Gear Test
- Gear Testing
- Gear Usage
- GGBY
- Green
- Green 20
- Guest Article
- Handled Ascender
- Hang Frame
- Highline Festival
- Highline Gear
- Highline Rigging
- Highline Safety
- Jelly PRO
- Lift
- Lift 2be
- Linebag
- LineGrip
- Longline Kit
- Longline Rigging
- Mantra MK4: Flight
- MightyLock
- Multiplier
- Paradigm
- Paradigm Signature
- Petzl Grigri
- Petzl I'D
- Petzl RIG
- Pharaoh
- Pulley System
- Pulleys
- Purchase Guide
- Rigging Plate
- Rock Exotica PentaPlate
- Rock Exotica Pulleys
- Rodeoline
- Safety
- SBI Pulley System
- Secondaire
- Shackle Line-Locker
- shackles
- Slackline Kit
- Slackline Webbing
- SMC 3-Inch Double PMP
- SMC 3-Inch Single PMP
- SMC CRx
- SMC Large Rigging Plate
- Soft Shackle
- Spansets
- Spider Silk MK4
- Static Rope
- Tape
- tensioning
- Testing Procedures
- Threaded Highline Leash
- Van Beest 1/2" Anchor Shackle
- Van Beest 5/8" Bolt-Type Shackle
- Velcro Line-Sleeve
- Wafer 2.0
- Wafer XL
- Walking Techniques
- Webbing Sleeve
- webbing tests
- Wind Dampener Kit

← Older Post Newer Post →
0 comments