You have no items in your shopping cart.

For the past month or so, Grant Thompson and I have been establishing a new highline in a new area close to Davis. Four weeks ago we went to go scope this new area for line potential, and man oh man is there a TON of spots at this place! I am so excited to see this place get developed over the next few months/years with a bunch of new highlines. It's great because you can get some massive exposure fairly close to my hometown of Davis.
For the past month or so, Grant Thompson and I have been establishing a new highline in a new area close to Davis. Four weeks ago we went to go scope this new area for line potential, and man oh man is there a TON of spots at this place! I am so excited to see this place get developed over the next few months/years with a bunch of new highlines. It's great because you can get some massive exposure fairly close to my hometown of Davis.

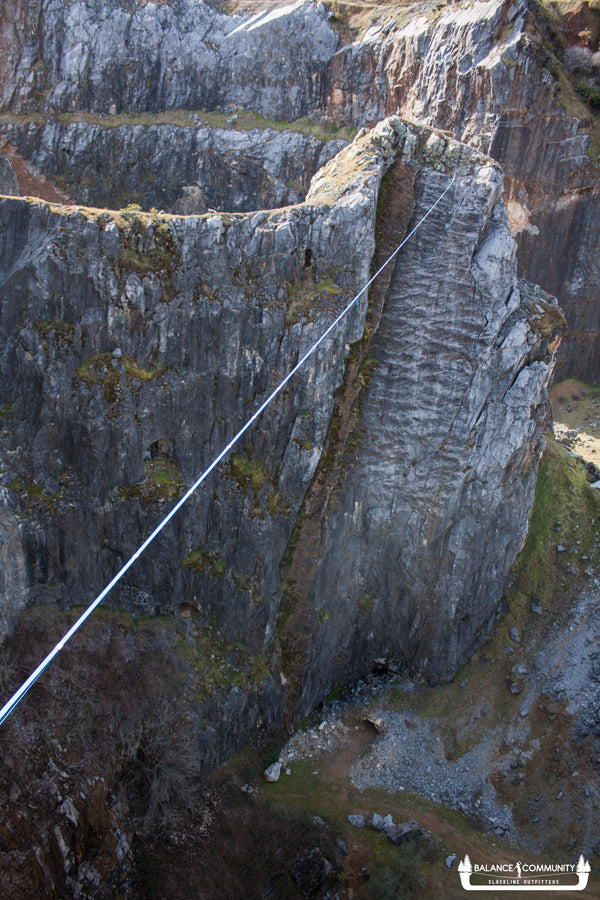
On our scoping mission, we stumbled upon this beautiful gap between the cliff edge and a monstrous spire in the middle of the canyon. Access to both of these locations was pretty rough though, so we spent a fair number of hours trying to find our way to both anchor points. After scoping both sides and agreeing that the spot was ideal, we decided to get some measurements. The line lasered in at 280 feet long and about 250 feet high (sloping ground at the base of the line made it hard to measure exact height). I was stoked! A new 250+ close to home! But this time, with HUGE exposure!
Not only did this line have massive direct exposure, it was about 800 feet above a river down below, which made it feel even more exposed! I was so excited to get on this thing.
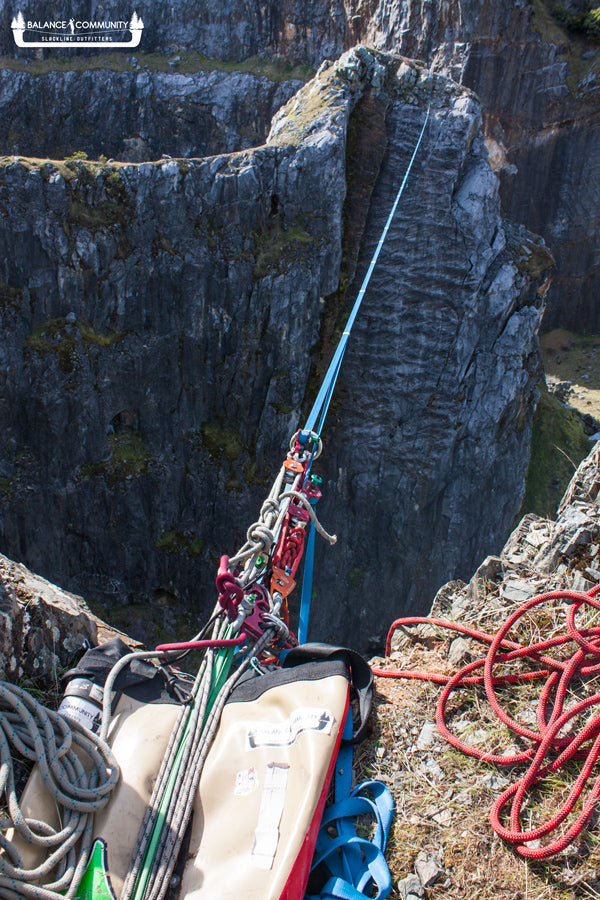
The next weekend, Grant Thompson and I decided that we were going to drill this new line. I wanted to be sure we used quality bolts for this line because it would definitely see some use in the future. I went with Fixe Stainless Glue-In Bolts with a 2-part epoxy. On the static side, I placed 6 bolts, with the top three dedicated to the main line and the bottom 3 dedicated to the backup line. There are also a set of 2 bolts on the top of the spire for rappelling and backup for the lines. On the tensioning side, the anchor is a big wrap-around, so I decided to go with a single 5-bolt anchor that I would run both lines off of. This setup proved to be quite good and made for a clean rig.
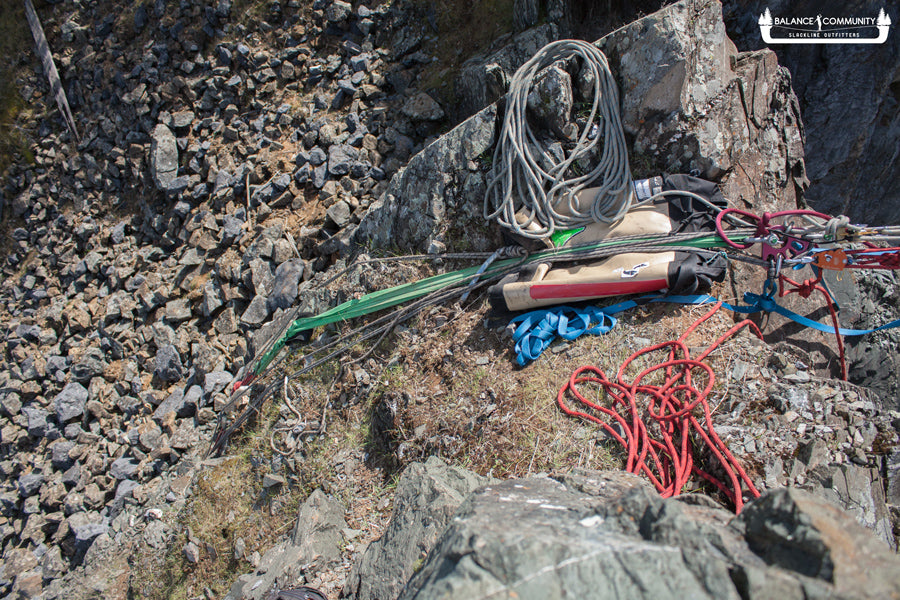
Two weeks later, Grant Thompson and I decided it was time to rig this monster. I spent the night before pre-rigging the line in my gear room to ensure the rigging would go as smooth as possible. This line had the potential to be a big rigging job with just 2 guys, but with proper pre-rigging, I was able to minimize this. I really wanted a super dynamic line to play on, so I went with double Type 18 MKII. On the static side I had a Green Spanset for both the main line and backup line. Both lines were anchor using the Alpine WebLock 3.0 (main line upside-down, backup right-side up). Both lines were backed up to the anchor above.
To get the line across, we had to drop a rope on both sides and have a climber connect them at the bottom. Luckily this is a very popular climbing spot or else we would have had to go all the way to the bottom to achieve this.
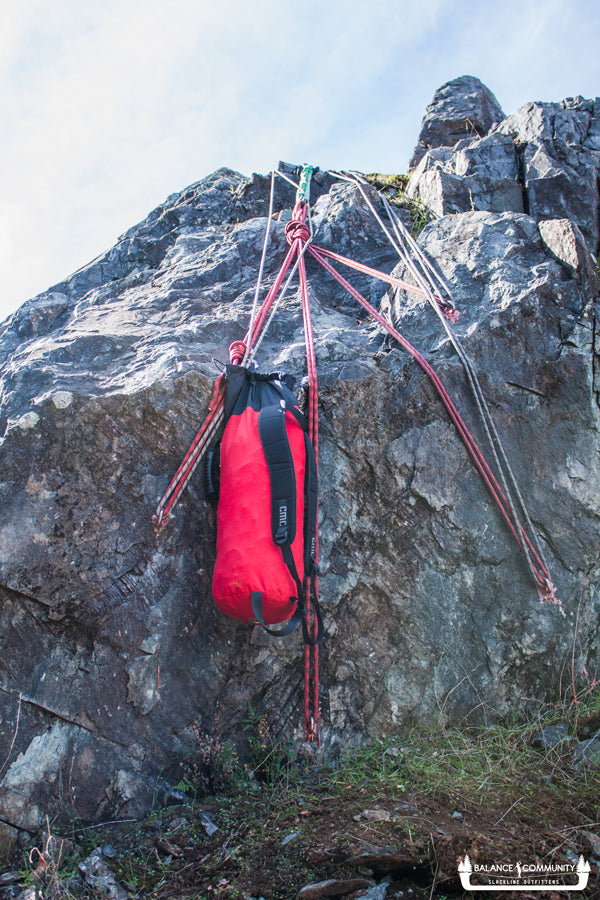
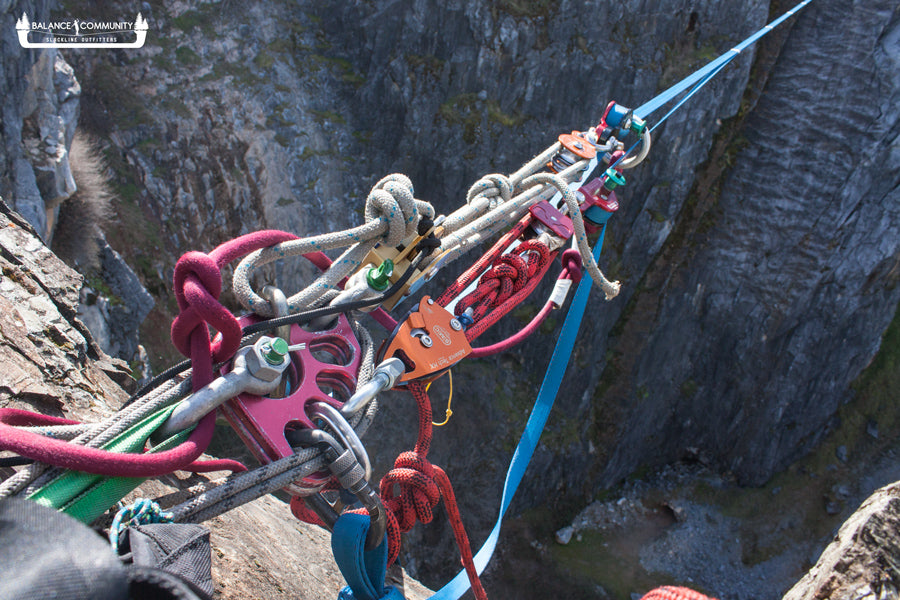
The tensioning side rigging was quite nice. I used a 90 foot piece of PMI 11mm Access PRO Static Rope that I ran through all 5 bolts. I created a big 5-bolt anchor and then tied a massive figure-8 knot in order to individualize each bolt, in case of a single bolt failure. I then ran a Green Spanset up around the rock to the top, which ended up being the PERFECT length. Connected to this spanset was a set of double SMC Large Rigging Plates. I attached both my main line and backup line pulley systems to this set of double plates. I then ran a second static rope through the bolts and passed it through both pulley system connection points in order to backup the entire main anchor. This was to ensure the Green Spanset, double SMC Large Rigging Plates, and main 5-bolt anchor had a backup system in place.
Before tensioning the line, I wanted to be sure that the bolts I placed were BOMBER. So, what I did was I strung up a piece of 1/4" Amsteel Blue and connected it to each bolt individually. I then tensioned the Amsteel to roughly 600 - 800 lbf and observed any movement in the bolt. Every bolt did move at all, which added more confidence to my setup.
Now that the line was rigged, it was time to walk! On my first attempt, I stood up and felt the dynamics of the line, then fell and caught the line. I haven't been on an exposed line in many many months, so it was a strange experience for me. None the less, I was able to send this beast on the second go in both directions! This thing was SCARY! Man, my legs were shaking the whole way across this beast. I was so happy when I got to the other side...
Over the next two days, Grant and I played on the line. On Saturday, the winds were outrageous, so not much time was spent on the line. It's extremely hard to deal with high winds on a line of this length. Even when you think you are in control, the line is being SUPER active both in front and behind you. It's such a weird experience to try and stay on top of a constantly moving line. It made me feel so out of control.
On the last day the winds were super calm. I was expecting the line to be much more controllable because of this, but I was very wrong. Every send I had was a huge fight. I could not maintain control of this line. I was very affected by the massive exposure that I had not had in a long time. It felt really good to be beaten so hard mentally. I'm really looking forward to rigging this line many times in the future!
Line-Specs
| Name | Fluid Motion |
|---|---|
| Length | 280 feet (85 meters) |
| Sag | 11 feet (3.5 meters) |
| Height | 300 feet (92 meters) |
| Exposure | 1,000 feet (300 meters) |
| Mainline Webbing | Type 18 MKII |
| Mainline Tension | 900 lbf (400 kgf) |
| Backup Material | Type 18 MKII |
| Backup tenson | 150 lbf (70 kgf) |

← Older Post Newer Post →