
Introduction
There are two main ways to thread your pulleys in your pulley system. Each method has benefits and drawbacks and are both suited for different situations. I would like to go into depth about each method and why it is superior in different situations.
Definitions
First, I would like to define a few things that I will be using throughout the article and within the video at the end of the article:
Reeve (verb) - To reeve is to thread the rope through your pulleys such that the end result becomes a pulley system
Sheave (noun) - The spinning wheel on a pulley
Becket (noun) - The hole on the inside of a pulley, usually used for connecting the rope to.
Right-To-Left Reeving Technique
The first method of reeving that I would like to discuss is known as the Right-to-Left Reeving Technique. This is the most common method used in the slackline community and is the easiest to do. Basically, to reeve with the right-to-left method, you take your rope, starting at the becket of one of your pulleys, and go up and down the sheaves from one side to the other. This method is an excellent way to reeve your pulleys if you are in a situation where you absolutely need both pulleys to be oriented the same. Meaning, if one pulley is standing vertical, the other pulley must be standing vertical as well. The reason for this is because of how the ropes sit inside the pulley system. There isn't any room for the pulleys to rotate with respect to each other.
Some drawbacks of the right-to-left reeving method are that you get uneven loading on your rope. If you follow the rope through the whole pulley system, you will notice that the strands within the rope that are positioned on the outer diameter going around any of the sheaves are on the outer diameter of all the sheaves. The same applies to the strands on the inner diameter: they stay on the inner diameter throughout the whole pulley system. This causes uneven loading within the rope and can cause twisting to occur. This becomes an issue at very high tensions. However, even at lower tensions you will notice some torquing of your pulleys with respect to each other. The line won't lay perfectly flat.
Another issue with the right-to-left reeving technique is in situations where you are embedding the brake within the pulleys. You will find that the strands of rope within the pulley system tend to rub up against each other, causing much unneeded friction. This is due to the path that the rope travels along in a right-to-left reeving.
How to Reeve using the Right-To-Left Method
Here are the step-by-step instructions for reeving your pulleys with this method:
Step 1
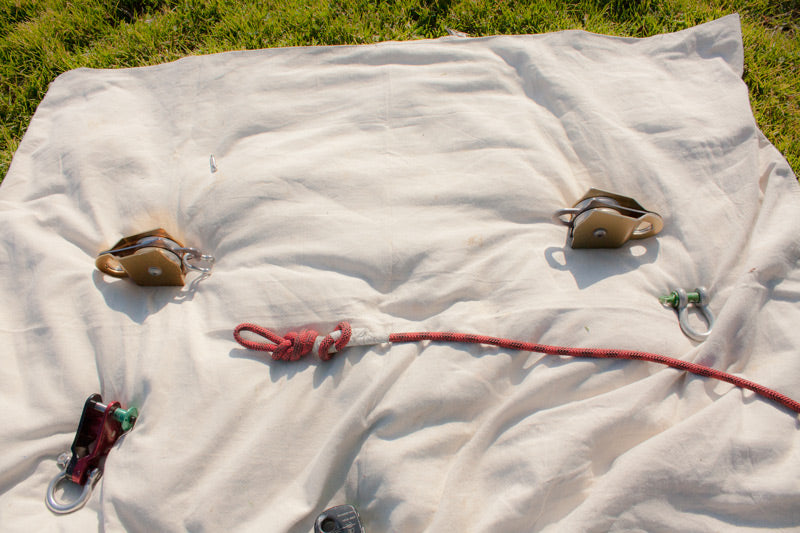
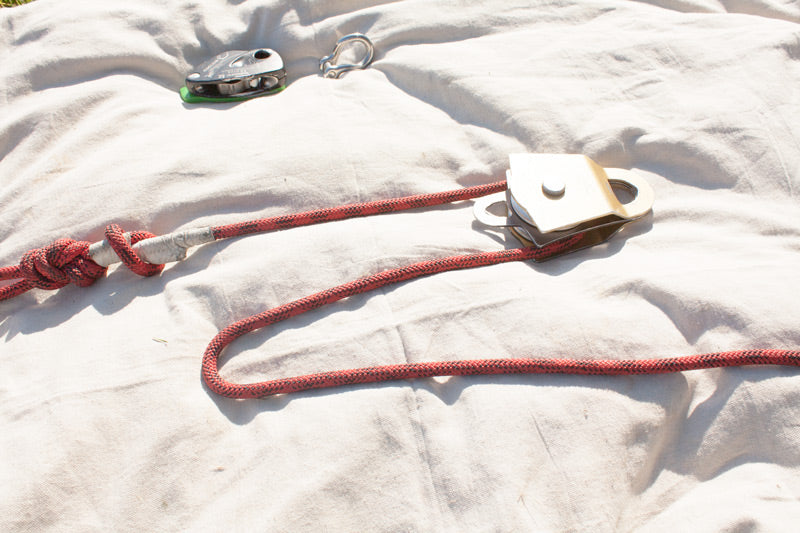
Lay your two pulleys out in front of you such that the beckets of both pulleys are facing each-other. Lay them about 3 feet from one-another.
Step 2
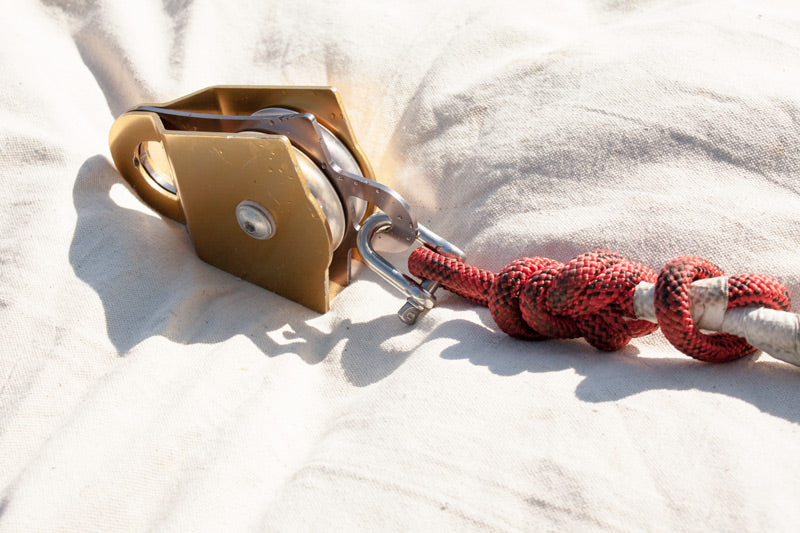
Take one end of your static rope and tie a figure-8 knot on a bite with a Fishermans backup knot. For more information on how to tie this knot, please consult this website: http://www.ropeworks.biz/reader/fig8-t.pdf. Attach this knot to the becket of one of the double pulleys laying in front of you (preferably the left one as it will match the pictures).
Before I go into the actual reeving part of this guide, I would like to write a little about your brake orientation. When reeving your pulleys with different brakes, you want to make sure the last strand of rope that enters your brake is on the correct side. If you do not, there will likely be twisting happening during tensioning, which will add friction to your setup, robbing you of your precious mechanical advantage. So, take a few minutes to look at your brake and see which side the tail leaves.
When I use the right-to-left reeving technique, I typically will position my brake such that the handle is facing down. So, to find out which side the tail leaves on your brake, position it like you would for your pulley system. If you plan on embedding your brake, position the brake inside the right pulley sitting in front of you with the handle facing the way you intend it to face (either up or down). Now see which side the tail of your rope is supposed to leave the brake (usually denoted by a small hand etched on to the device). You want to be sure that the strand coming from the left pulley going into the brake is on the same side that the tail is leaving. For example, with the Edelrid Eddy, the tail would be leaving the device on the side closest to me, if it were positioned where it's supposed to be. So, I want to be sure that the last strand of rope coming out from the left pulley leaves the sheave that is closest to me. If it came from the sheave furthest from me, there would be issues with the multiplier rubbing on the previous strand while I was pulling on it.
Step 3

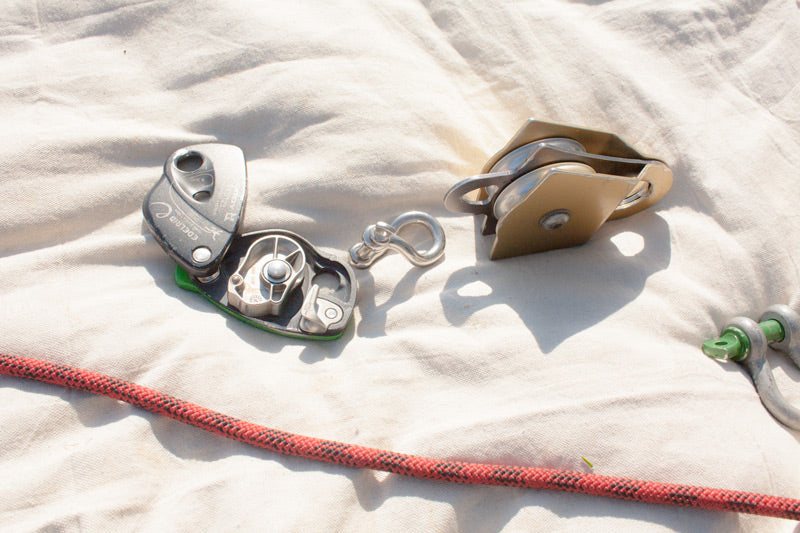
Okay, from this step on, I will be using the Edelrid Eddy as my brake. If you have a different brake, you may have to reeve the other sheave first.
Take the rope coming from the becket of the left pulley and pass it up through the sheave on the right pulley that is furthest from you. The tail should be coming out of the top of the pulley.
Step 4
Now take this strand and pass it down through the sheave on the left pulley that is furthest from you. The tail should be coming out of the bottom of the pulley.
Step 5

Run the tail up through the sheave on the right pulley that is closest to you.
Step 6
Take the tail and pass it down through the sheave of the left pulley that is closest to you.
Step 7

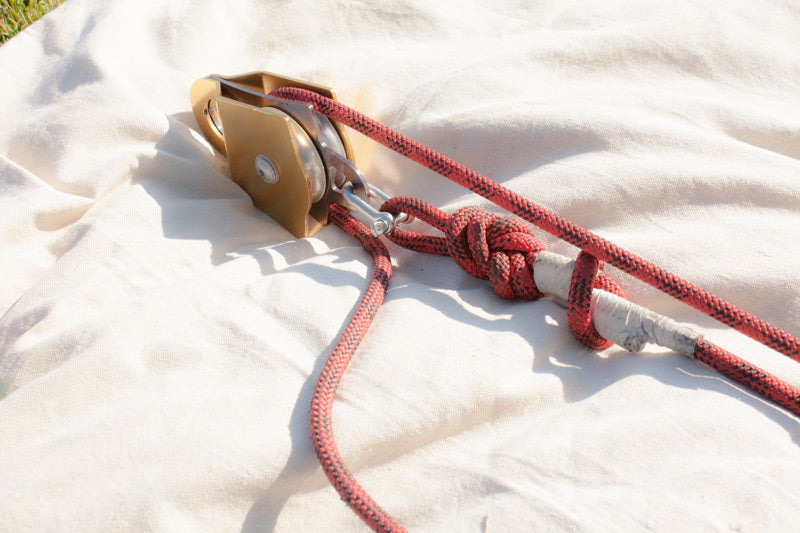
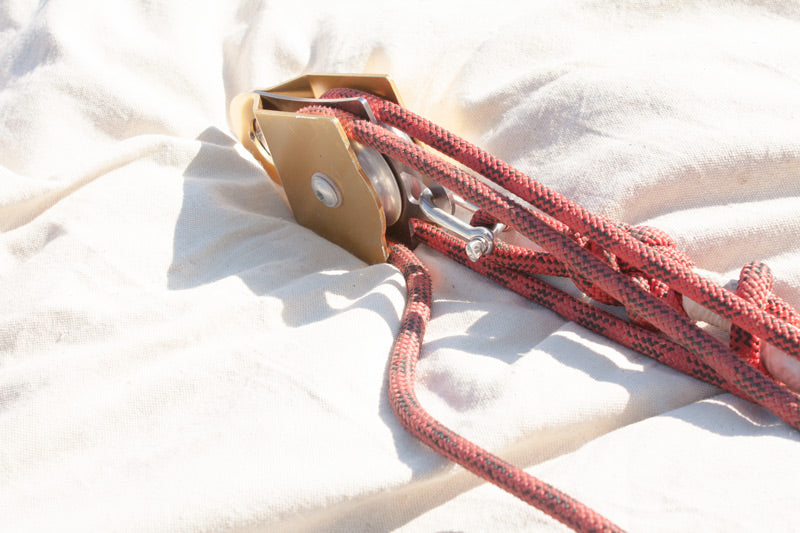
Now install the tail of the into your brake and connect the brake to your pulley system (your methods may vary for connecting the brake. See SS-Connection Point for more information)
Provided you followed the instructions above and you have correctly identified your brake orientation, you should be able to get the most out of your right-to-left reeved 5:1 pulley system.

Right-Angle Reeving Technique
The second method of reeving I would like to discuss is known as the Right-Angle Reeving Technique. This method is rarely used in the slackline world, but is often used in industrial applications as well as sailing/marine rigging environments. This method is great for applications where a constant load will be applied to your system (i.e. slackline!) as there is less torque on the rope and hardware within the reeve. The reason for this is because of how the rope travels through the sheaves of the pulleys. No longer are the strands that travel around the outer diameter being loaded more than other strands in the rope. This results in a more efficient traveling rope that causes less torque on your pulley system when under load. Often times you can get your line to lay perfectly flat using this method
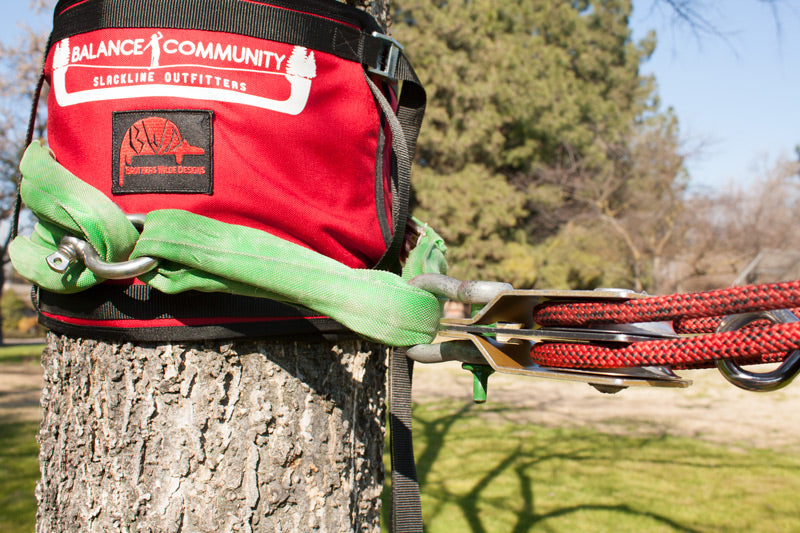
There are a few cons to the Right-Angle Reeving Technique that sometimes make it unusable. First, the pulleys must be oriented opposite of one-another. Meaning, if one pulley is oriented vertically, the other pulley must lay horizontally. This sometimes can be a problem as anchoring a horizontal pulley is awkward in some situations. The easiest way to get around this is to use the rigging plate anchoring method where you pass your sling through a shackle that is sitting vertically and attached to your horizontal pulley and then connect the two ends together with another shackle or steel carabiner. However, some situations do not allow for this method (i.e. multi-bolt highline anchors). There are other ways of getting around this, but they involve more gear.
Another drawback, or caveat of the Right-Angle Reeving Technique is that when your pulleys are much taller than they are wide, you can sometimes get a bit of friction with the side-plates. This isn't a big issue with most pulleys that are used for slacklining, but it can come into play if you want to use really big double pulleys (4" and larger).
All-in-all, this is my go-to method for reeving as it results in a very nice system with limited friction. Also, if you use the Edelrid Eddy for your brake, you can have your handle facing downwards with easy access for the multiplier (more later). Another thing that is nice about this system is that it accommodates an embedded brake much better than the Right-to-left Method as you don't have nearly as much friction with the strands of rope running through the sheaves. This is great for times when you need a lot of tension. The less friction you have, the easier it will be to tension your line.
How to Reeve using the Right-Angle Method
Here are the step-by-step instructions for reeving your pulleys with this method:
Step 1
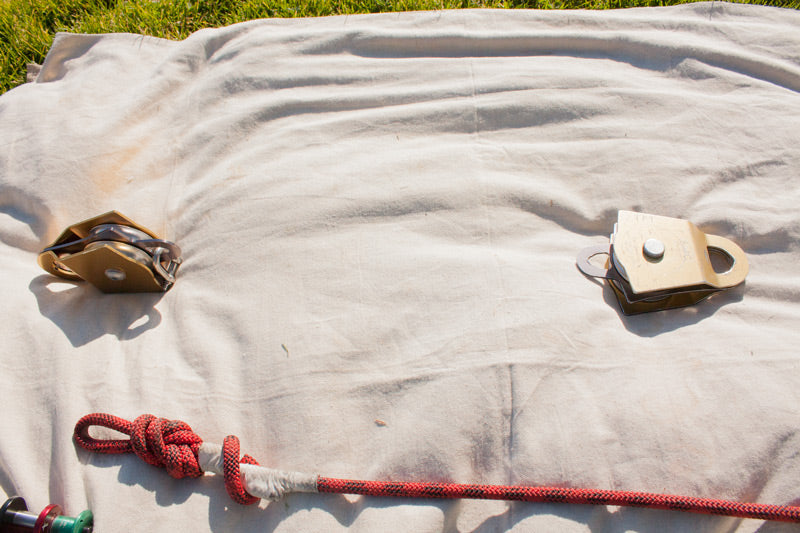
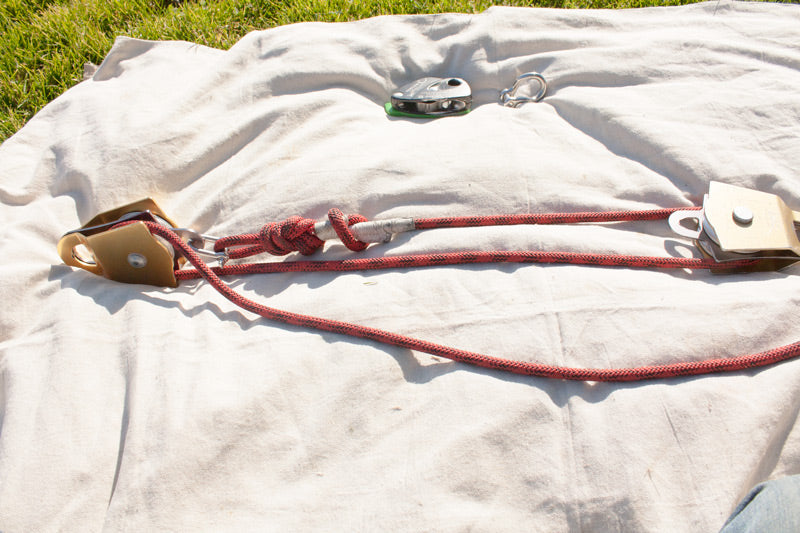
Lay your two pulleys out in front of you such that the beckets of both pulleys are facing each other. Lay them about 3 feet from one-another. One pulley should lay horizontal and the other vertical, just like in the picture. I usually lay the pulley on my right horizontally, but that doesn't matter so much.
Step 2
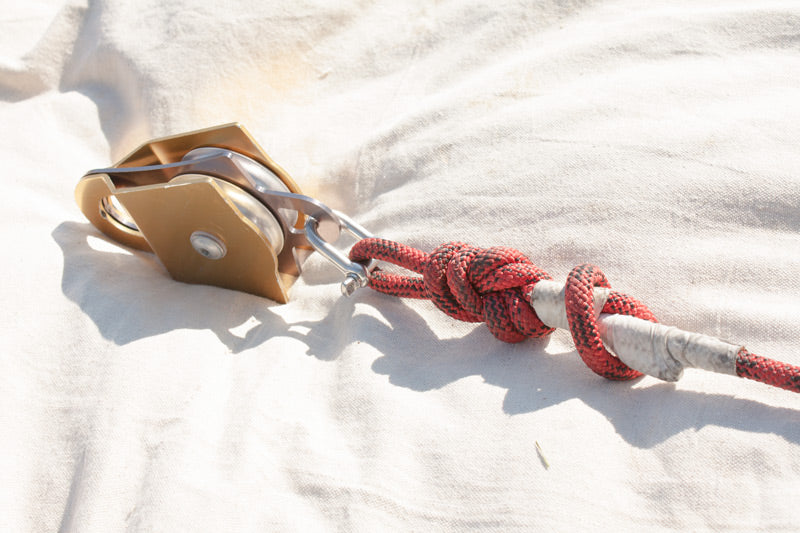
Take one end of your static rope and tie a figure-8 knot on a bite with a fishermans backup knot. For more information on how to tie this knot, please consult this website: www.ropeworks.biz/reader/fig8-t.pdf. Attach this knot to the becket of one of the double pulleys laying in front of you (preferably the left one as it will match the pictures).
Before I go into the actual reeving part of this guide, I would like to write a little about your brake orientation. The rope position isn't the same as on the right-to-left reeving method above. The things you need to be aware of are where the tail of your rope is exiting your brake and on what side of the pulley system you will be pulling from (right or left). On the Edelrid Eddy, we will be having the tail exit the bottom, so we will want our last strand going to the Edelrid Eddy to be exiting the bottom of the last sheave. The reason this is important is because the rope will be traveling in opposite directions on each sheave on each pulley, so the load can exit from both the top or bottom. If we have the last strand exit the top and our brake is facing downwards, we could have some twists in the pulley system, causing torque on the whole system (i.e. robbing you of your precious mechanical advantage). So pay attention to where your rope tail is exiting and try and make a smooth path for your last strand of rope going to the brake.
I usually pull on the right side of the pulley system (looking at the static anchor from the tensioning anchor) and so I would like it if the last strand of rope was on the right. The reason this is important is because if we have the last strand on the opposite side of where we are pulling, there will be a twist from the multiplier pulley to your hand when you pull, which can cause several strands to rub against each other, which robs you of efficiency.
Keeping those two things in mind, let's continue to reeve!
Step 3
Okay, from this step on, I will be using the Edelrid Eddy as my brake. If you have a different brake, your reeving path may be different.
Take the rope coming from the becket of the left pulley and pass it down towards you on the bottom sheave of the right pulley. The tail should be on the side of the right pulley that is closest to you. If you pull from the left side of the pulley system, you should go the opposite direction through this sheave, such that the tail is on the side of the pulley that is furthest from you.
Quick note about this reeving method, it works the best with the Edelrid Eddy as your brake. The reason for this is because with the tail exiting out the bottom of the device, the release handle is also facing downwards. This makes releasing tension extremely easy, even when the pulley system is well overhead. No other brake has this feature. To release tension on most breaks, you have to pull in the opposite direction of where the tail is exiting the device (i.e. upwards with the right-angle reeving method)
Step 4
Now take this strand and pass it up through the sheave on the left pulley that is closest from you. The tail should be coming out of the top of the pulley. Again, if you pull from the left, you should go up through the other sheave that is furthest from you on the left pulley.
Step 5

Run the tail up away from you on the top sheave on the right pulley. The tail should be on the side of the pulleys that are furthest from you. If you pull from the left, pass the rope down towards you on this same sheave.
Step 6
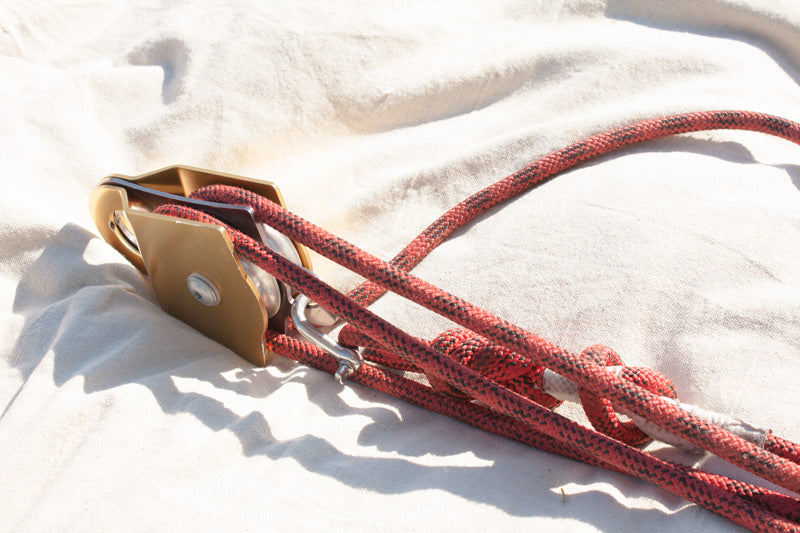
Take the tail and pass it down through the sheave of the left pulley that is furthest from you. For left side pullers, pass the rope down through the sheave closest to you on the left pulley.
Step 7
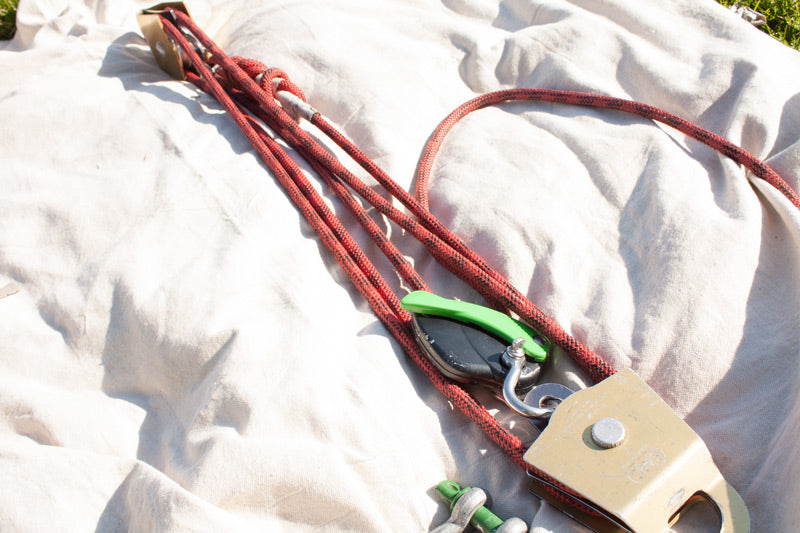
Now install the tail of the into your brake and connect the brake to your pulley system (your methods may vary for connecting the brake. See SS-Connection Point for more information)
0 comments