Customer Login

Slack Science, the slackline laboratory

Slack Science, powered by Balance Community: Slackline Outfitters, is a blog run by Jerry Miszewski about slacklining. He offers tips and tricks to various parts of setting-up, taking down, in-depth looks at various aspects of a setup, and hints at walking slacklines.

Jerry's long history with the sport of slackline has given him a wealth of knowledge that he loves to share with his fellow slackliners. Slack Science is a place anyone and everyone to come and learn about our wonderful sport of slacklining.

Slider Tapes

Posted by Slack Science
Slack Science
Slack Science, the knowledge center for all things slackline.
User is currently offline
on Monday, 13 February 2012 in Rigging Practices

In a highline setup, typically there are a minimum of two lines crossing the gap which you are trying to walk. These lines are usually taped together so that they may move together as a single line. Often times when these lines are taped together, the tapes can leave bad residue on the line and cause the multiple lines to behave in a strange way.

With this new taping technique, dubbed 'Slider Tapes', you can tape your lines together before arriving to the highline spot and then tension the mainline and backup line separately without the problem of having the lines stick together and having your tapes break when you tension your lines.. This taping technique keeps the tapes spaced correctly while still holding the multiple lines together so they move as one.

This taping style uses regular Athletic Tape that can be purchased at any convenience store for about $3 per roll.

Slider Tapes :: Step 1 - Rip off a 6-inch to 6.5-inch piece of Athletic Tape.

Step 1

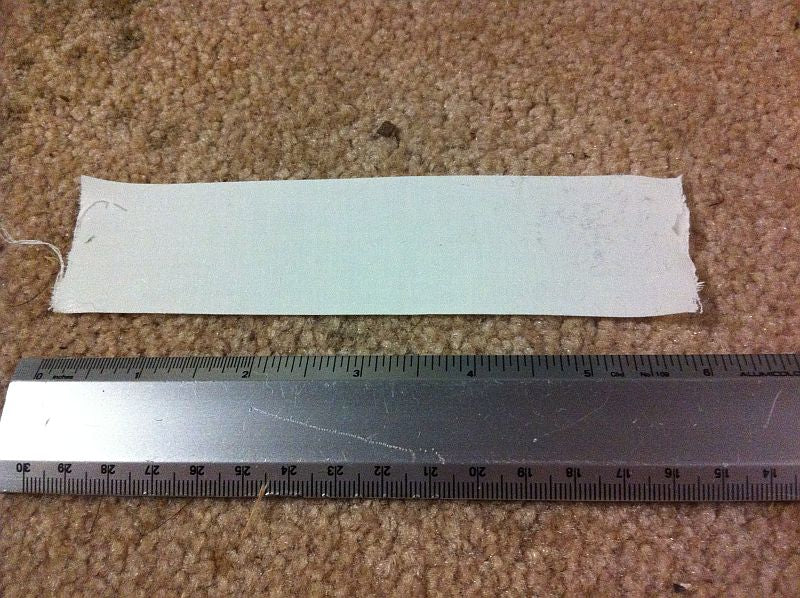
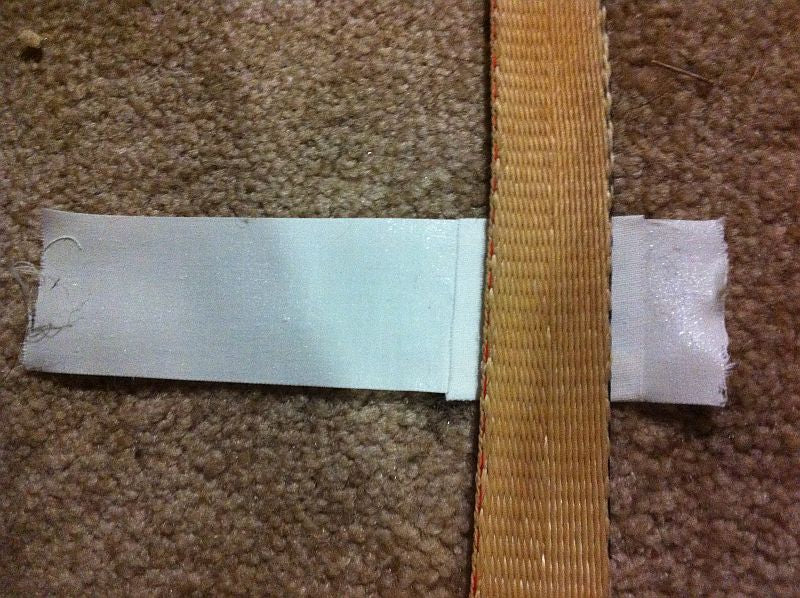
Rip off a 6" to 6-1/2" long piece of Athletic tape and put it on the floor with the sticky side up.


Slider Tapes :: Step 2 - Rip off a 2-inch to 2.5-inch piece of Athletic Tape.

Step 2

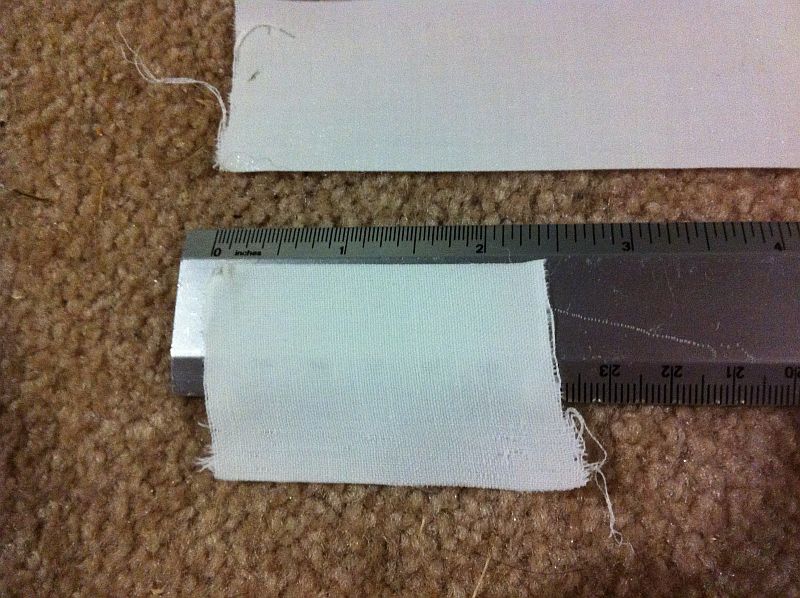
Rip off a 2" to 2-1/2" long piece of Athletic tape and place it on the floor with the sticky side up.


Slider Tapes :: Step 3 - Place 2-inch piece on 6-inch piece with sticky sides touching.

Step 3

Place the 2" piece on top of the 6" piece about 1/2" to 3/4" from the top of the 6" long piece with the sticky sides touching.


Slider Tapes :: Step 4 - Wrap ends of 2-inch piece around the edge of 6-inch piece.

Step 4

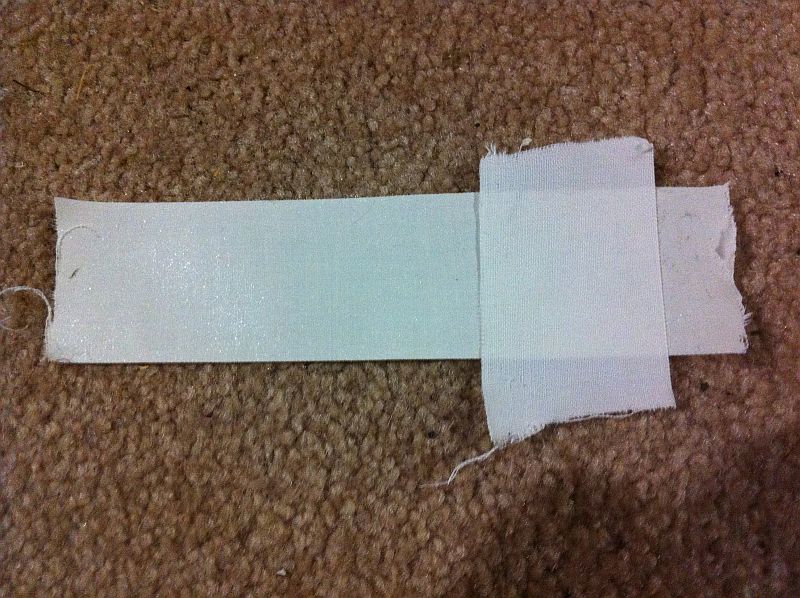
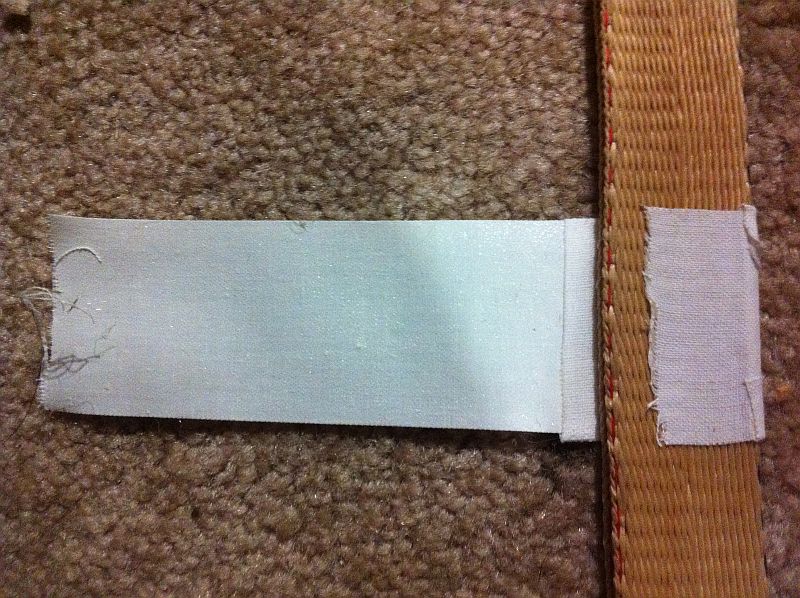
Wrap the ends of the 2" piece around the edges of the 6" piece. Be sure to press the ends down firmly so that they stick very well. Remove any excess tape fibers.


Slider Tapes :: Step 5 - Place tape under the stacked highline lines.

Step 5

Place the piece of tape under the stacked highline lines such that the non-sticky side of the 2" piece is in contact with the backup line.


Slider Tapes :: Step 6 - Wrap short sticky side around to mainline.

Step 6

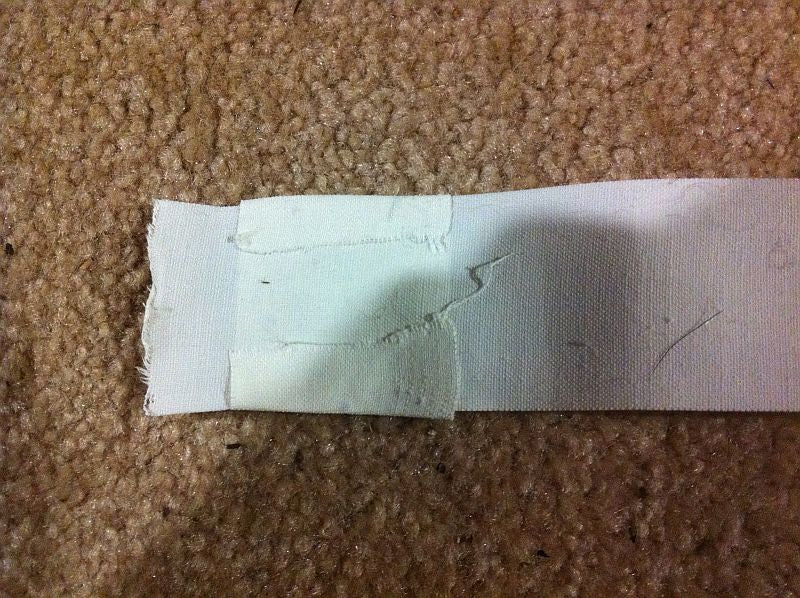
Wrap the shorter sticky side of the tape around to the mainline, pressing firmly so that it sticks well. Remove any excess tape fibers.


Slider Tapes :: Step 7 - Wrap longer sticky side around both lines a few times.

Step 7

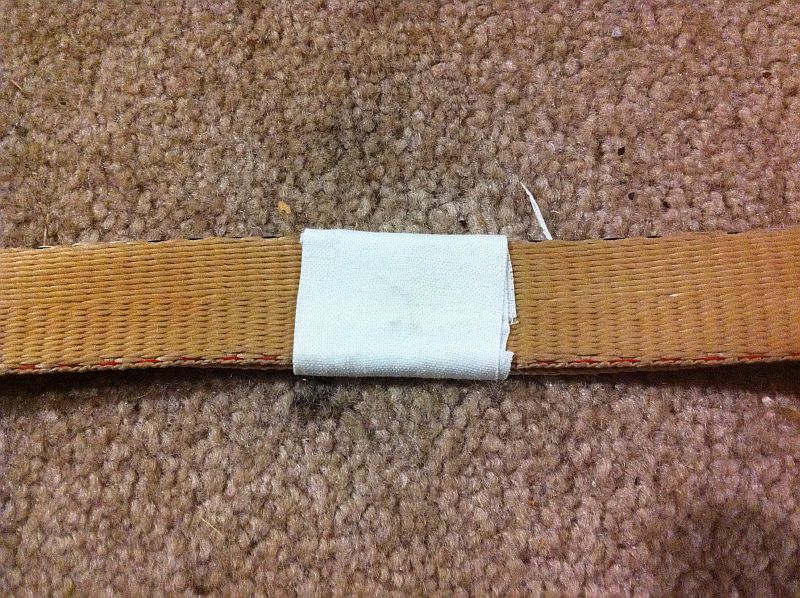
Wrap the longer sticky side of the tape around both lines a few times, pressing firmly as you wrap it around to ensure it sticks well. Remove any excess tape fibers.


Slider Tapes :: Step 8 - Ensure the tape ends on the bottom of the stacked lines.

Step 8

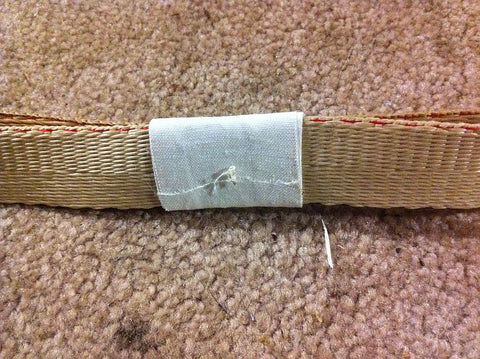
Ensure that the end of the piece of tape is on the bottom of the stacked lines (the backup line). This will help make the tapes last for a very long time.


This method of tape is fantastic for those that use a particular piece of webbing for highlines multiple times. You can leave your line taped for months and months with no issues and you will never have to retape the line. This will save you loads of time during highline setup while also making the line much easier to rig.

PRO Tip

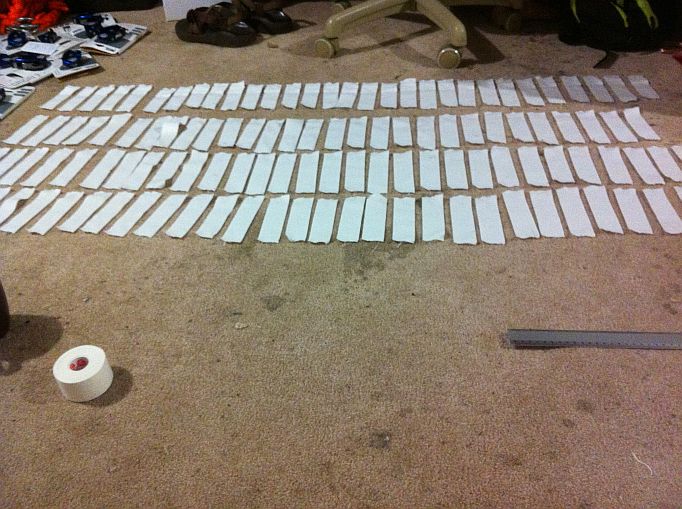
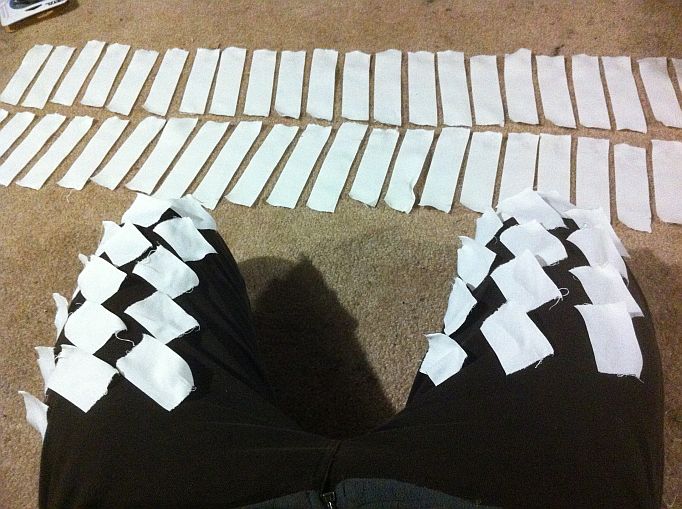
For quick taping, make as many of the pieces of tape as you can before starting to tape the line. I like to approximate how many tapes I need for the whole line by dividing the length of my webbing by 3 (which is typically how far I space my tapes from eachother) and making this number of tapes beforehand. Check the two pictures below for my tape assembly line.

Slider Tapes assembly line

As always, if you have any questions, please feel free to comment below.

Rate this blog entry
3 votes

Slack Science

Slack Science, the knowledge center for all things slackline.
Trackback URL for this blog entry

Comments

tylerpienta Monday, 20 February 2012

thats alot of grigris in the backround woah!
also, i thought that for a highline backup you would use dynamic rope not webbing?

Slack Science Monday, 20 February 2012

Hehe, we do sell them ;)

Dynamic ropes are also great for backing up highlines. This method of taping works for both webbing and dynamic rope backups.

Leave your comment

Guest Saturday, 19 May 2012

These articles take a lot of time and research. Help keep Slack Science afloat with a small donation. Every little bit helps.

Amount: 

Categories

Latest Comments

Slack Science said, I have seen line-lockers destroy low stretch webbing at tensions as low as 1/5 the breaking strength
Commented in post All About Webbing Anchor's on Wednesday, 16 May 2012
Slack Science said, The reason we use double rings is mainly for redundancy. Also, the rings that come with a line-locke
Commented in post All About Webbing Anchor's on Wednesday, 16 May 2012
Drew Sanford said, Exactly how important is it to use weblock-style devices on low stretch webbing? I know quite a few
Commented in post All About Webbing Anchor's on Wednesday, 16 May 2012
Slack Science said, Those are definitely not safe! Better would be to use stakes in the grassy area. Definitely do not u
Commented in post Safety Reminder on Tuesday, 08 May 2012
Steve said, Thats great thanks. [img]http://kathrynwarmstrong.files.wordpress.com/2011/06/4-ballintoy-harbor.jp
Commented in post Safety Reminder on Tuesday, 08 May 2012

Popular Posts

The 9:1 Base Pulley System
All About Pulley Systems - The Complete Guide