You have no items in your shopping cart.
- SALE
- Tension Calculator
- Webbing Stretch
- Contact Us
- Free Shipping on U.S. Orders $89+

Sort by:
Show:
-
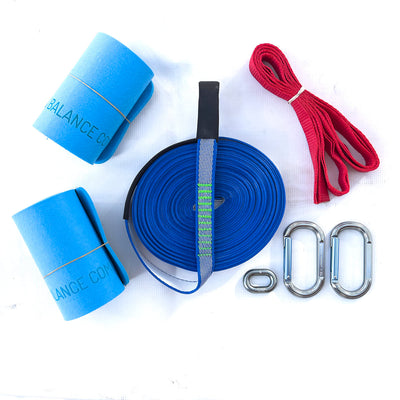
BC Starter Slackline Kit
Rig lines up to 60 feet long!Introducing the all new BC Starter Slackline Kit! This is the perfect kit for the first-time slackliner. It's super easy to setup, very minimal equipment, and comes with quality components....$99.00 -
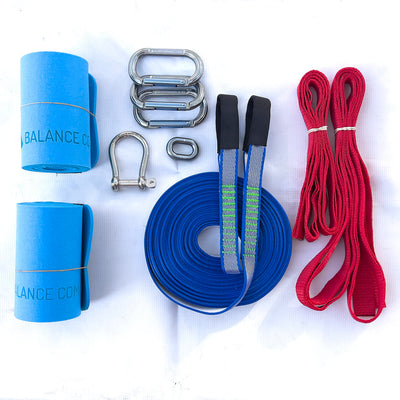
BC Prim-25 Slackline Kit
Rig lines up to 75 feet long!Introducing the all new BC Prim-25 Slackline Kit! This is the perfect kit for the first-time slackliner. It's super easy to setup, very minimal equipment, and comes with quality components....From $95.00 -
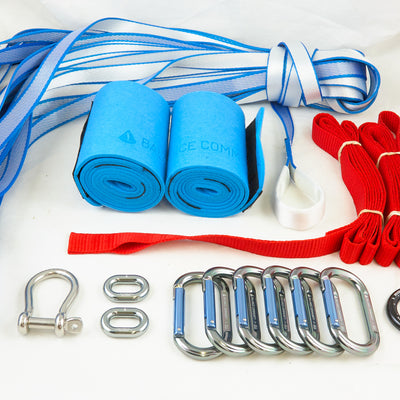
BC Prim-50 Slackline Kit
Rig lines up to 138 feet long!Introducing the BC Prim-50 Custom Slackline Kit, a lightweight, easy to use, primitive slackline kit that allows you to rig lines up to 42 meters (138 feet) long by yourself....From $139.00 -

BC LongLine Kit
A Complete longline kit with the option of a Buckingham system or a true pulley system for tensioning. The base kit comes with the following gear: 2x 10 ft BC...From $529.00 -

BC LongLine Kit - No Webbing
A Complete longline kit with the option of a Buckingham system or a true pulley system for tensioning. This kit does not come with webbing. The base kit comes with...From $429.00


Show:
